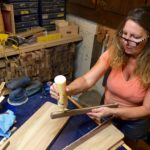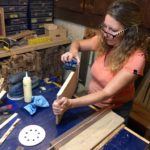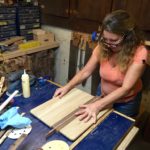
A Mitered Corner Box

Most people don’t think much about boxes.We think about shapes and sizes based on what we plan to store in them. That’s about it. But, if you look around most of what we see are based on cube-ish shapes. Houses. Cabinets. Storage boxes. Cars. The list goes on.

Yesterday, we took a brief detour from shop related stuff we were doing to build a couple of boxes. They were mostly for fun, but we were also testing out how we were going to prepare them for finishing. Many  items we will be producing in the future revolve around box shapes, so building a box  is a fundamental woodworking skill.

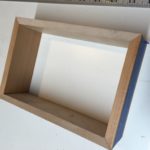
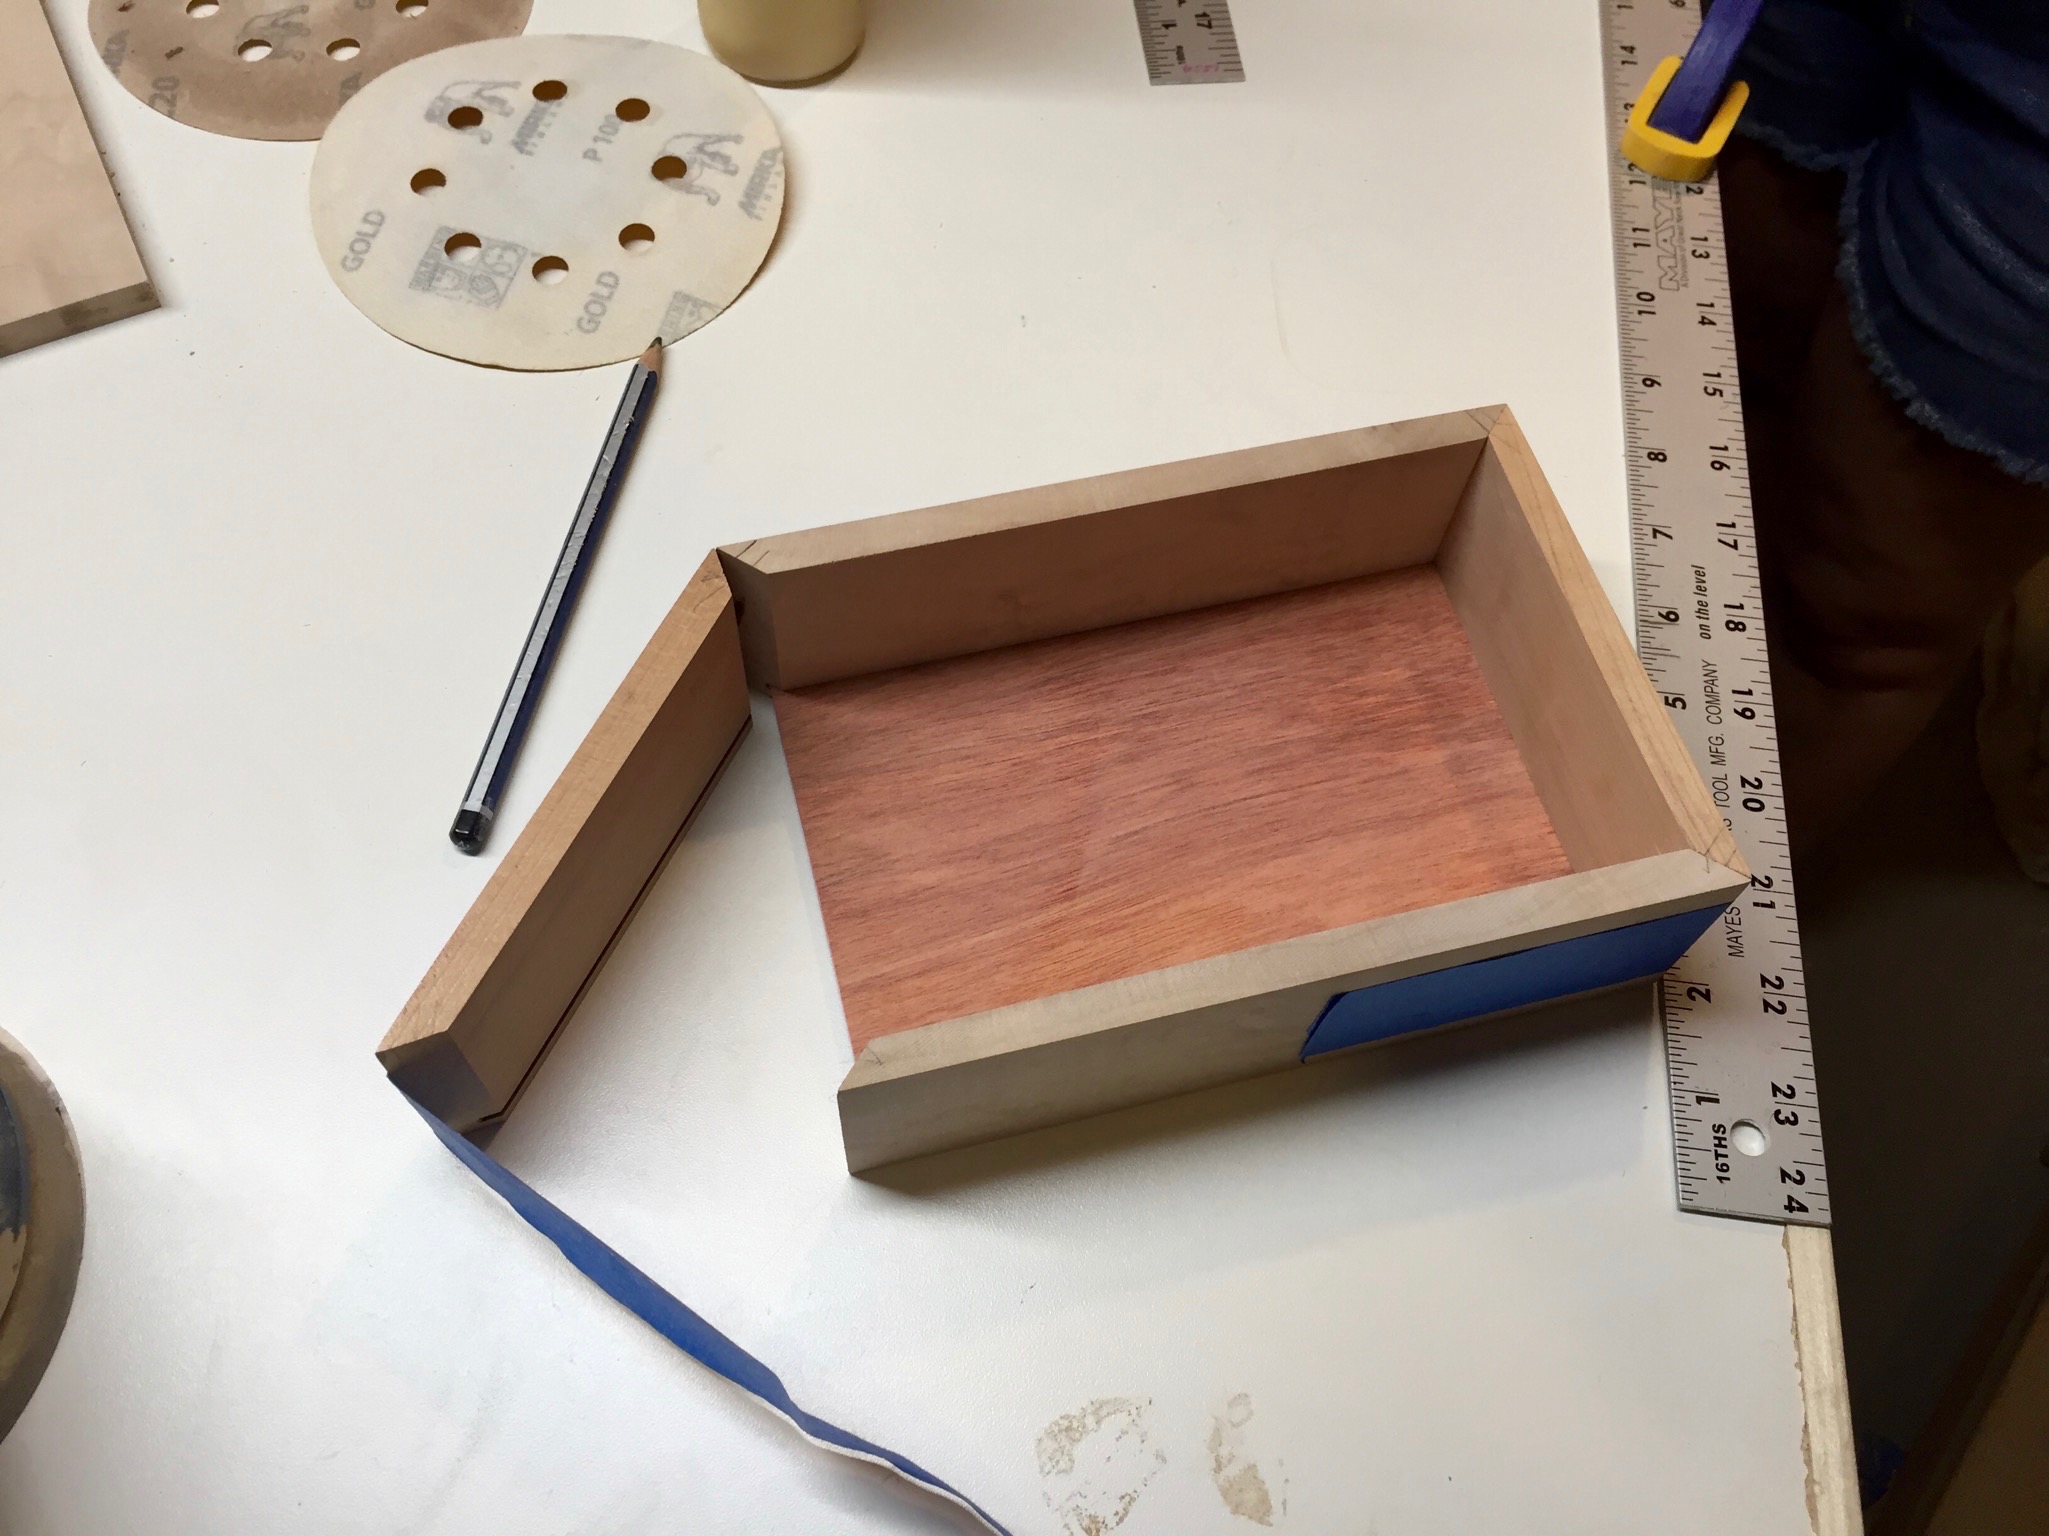
The boxes we chose to make were simple mitered corner boxes. This is one of the more basic designs. Four sides are cut at 45 degrees so they meet up at perfect right angles to each other. A part of the challenge is to make sure that the wood is of even thickness and dead flat. The other challenge is to ensure that the cuts are exactly 45 degrees. If any of the preceding are off, the box has unsightly gaps.

The miter joints that make up the box we made aren’t the strongest. On the plus side, they don’t show any end grain. On the minus side, if one isn’t careful about priming the joint with glue seize the end grain can suck up all the glue, weakening the joint and causing it to fail or swelling the wood, thereby throwing off the geometry of the box. This was a test for us in many respects.

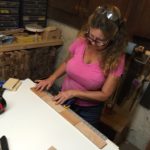
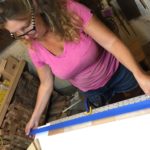
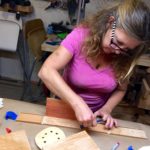
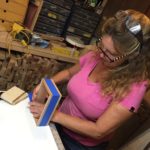
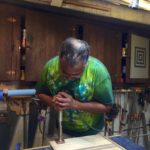
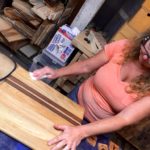
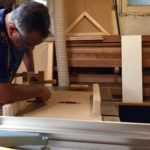
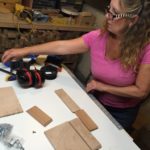
Since we were making a couple of these boxes, we figured we’d take a couple of pictures to show you what the process looks like.
 

And So It Begins — Part 2

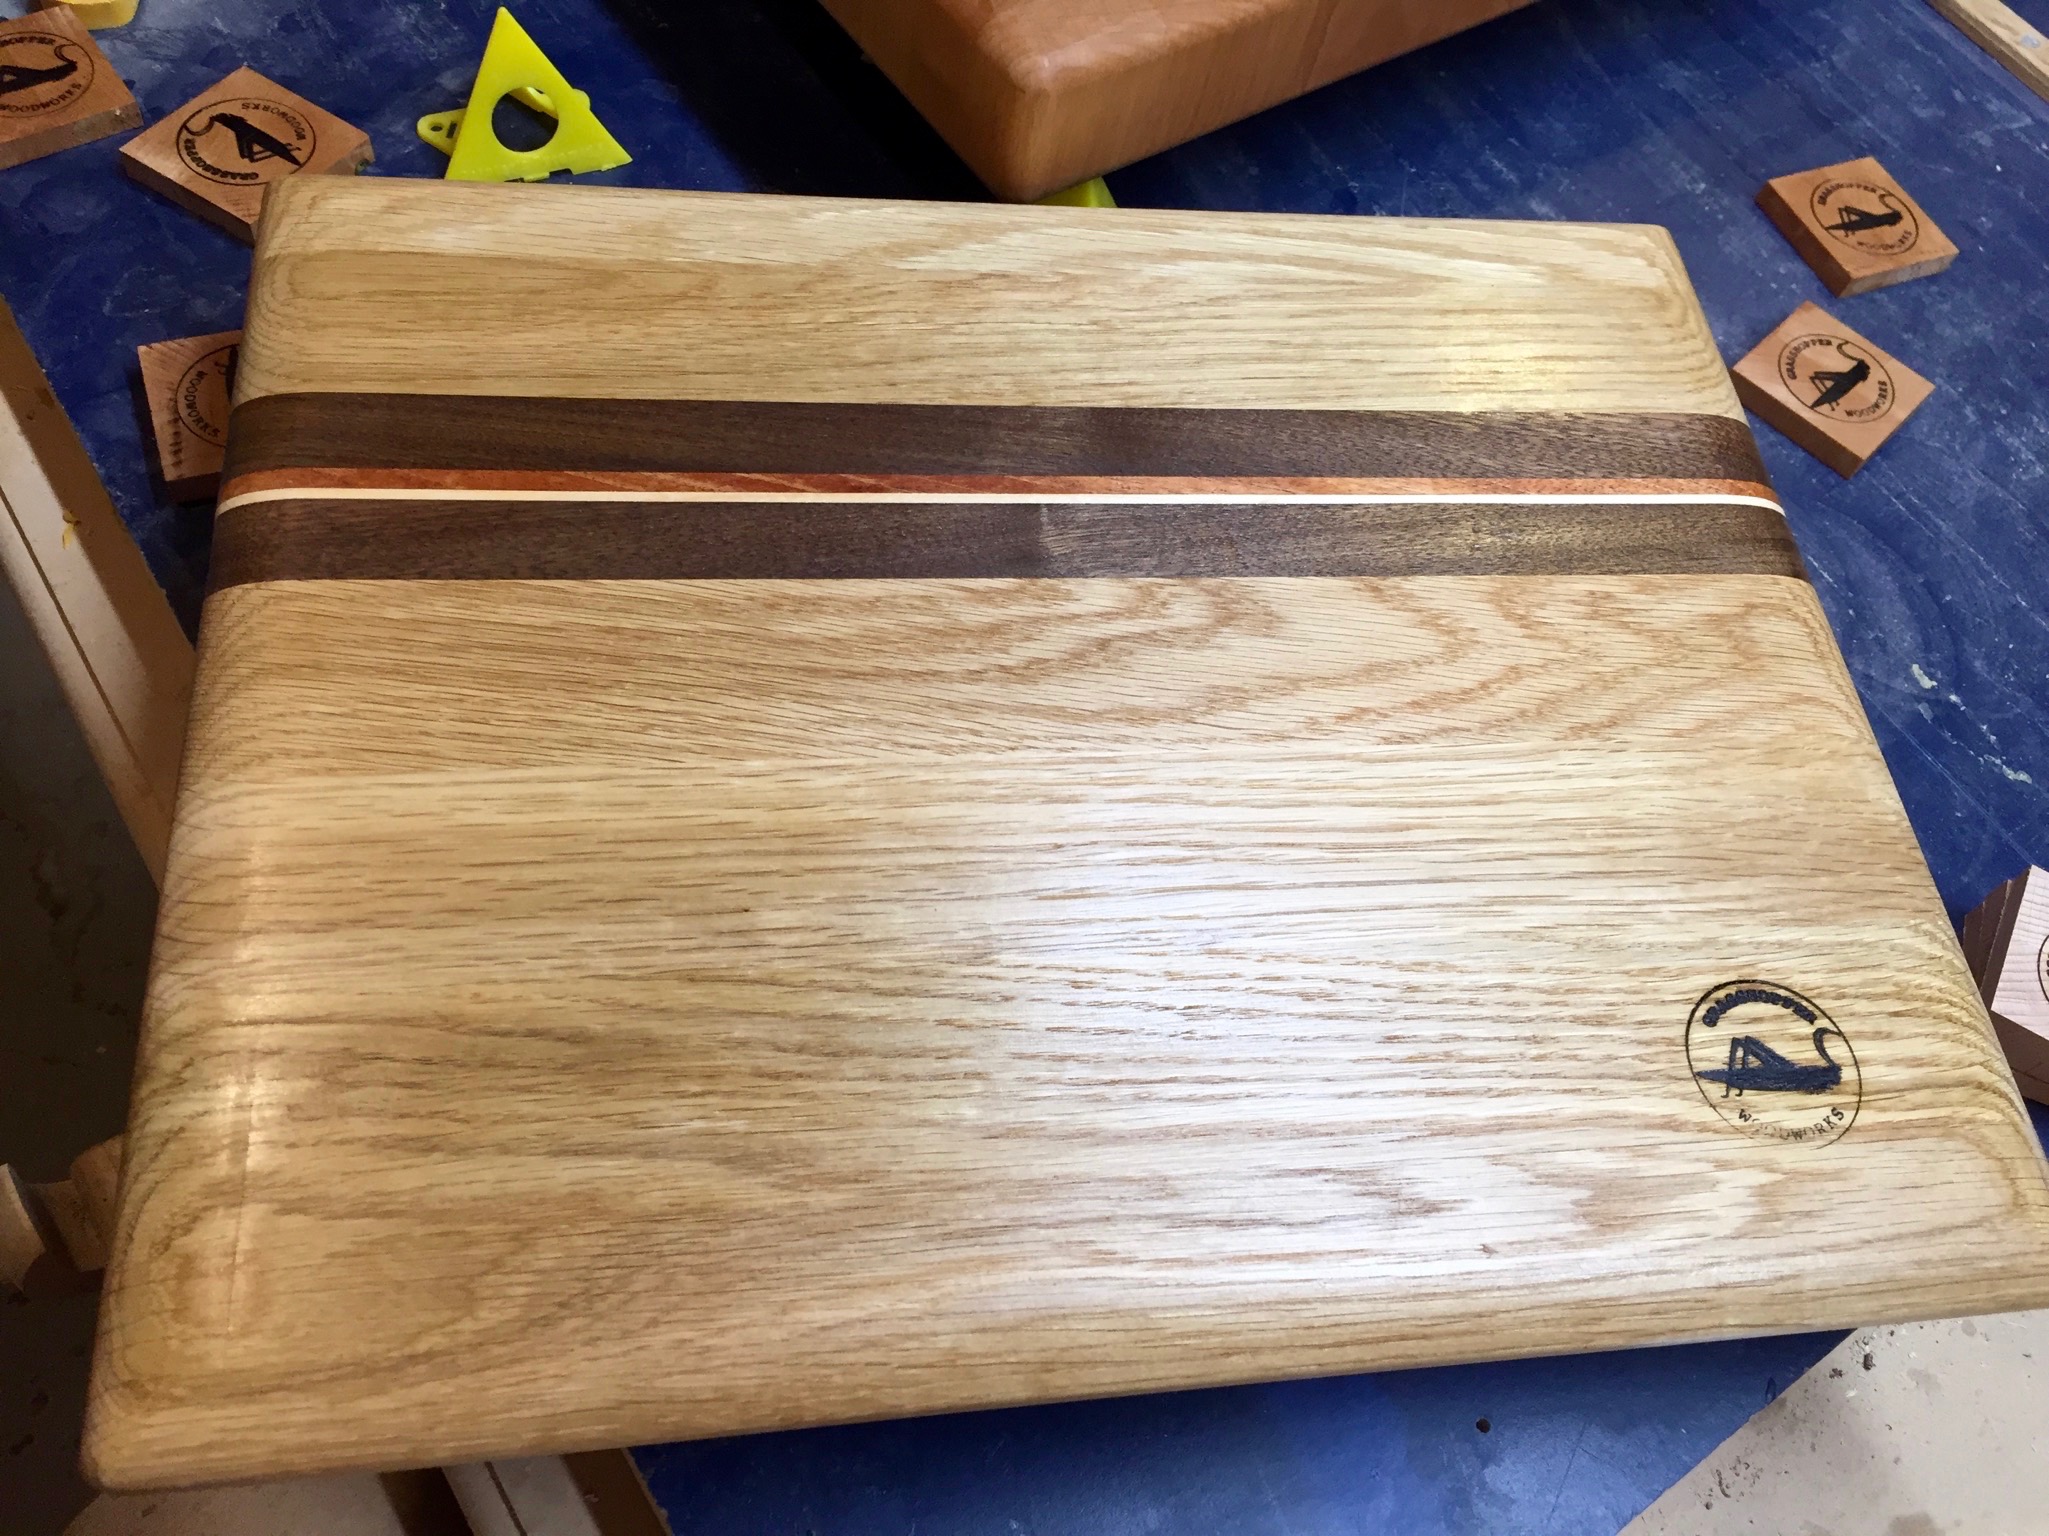
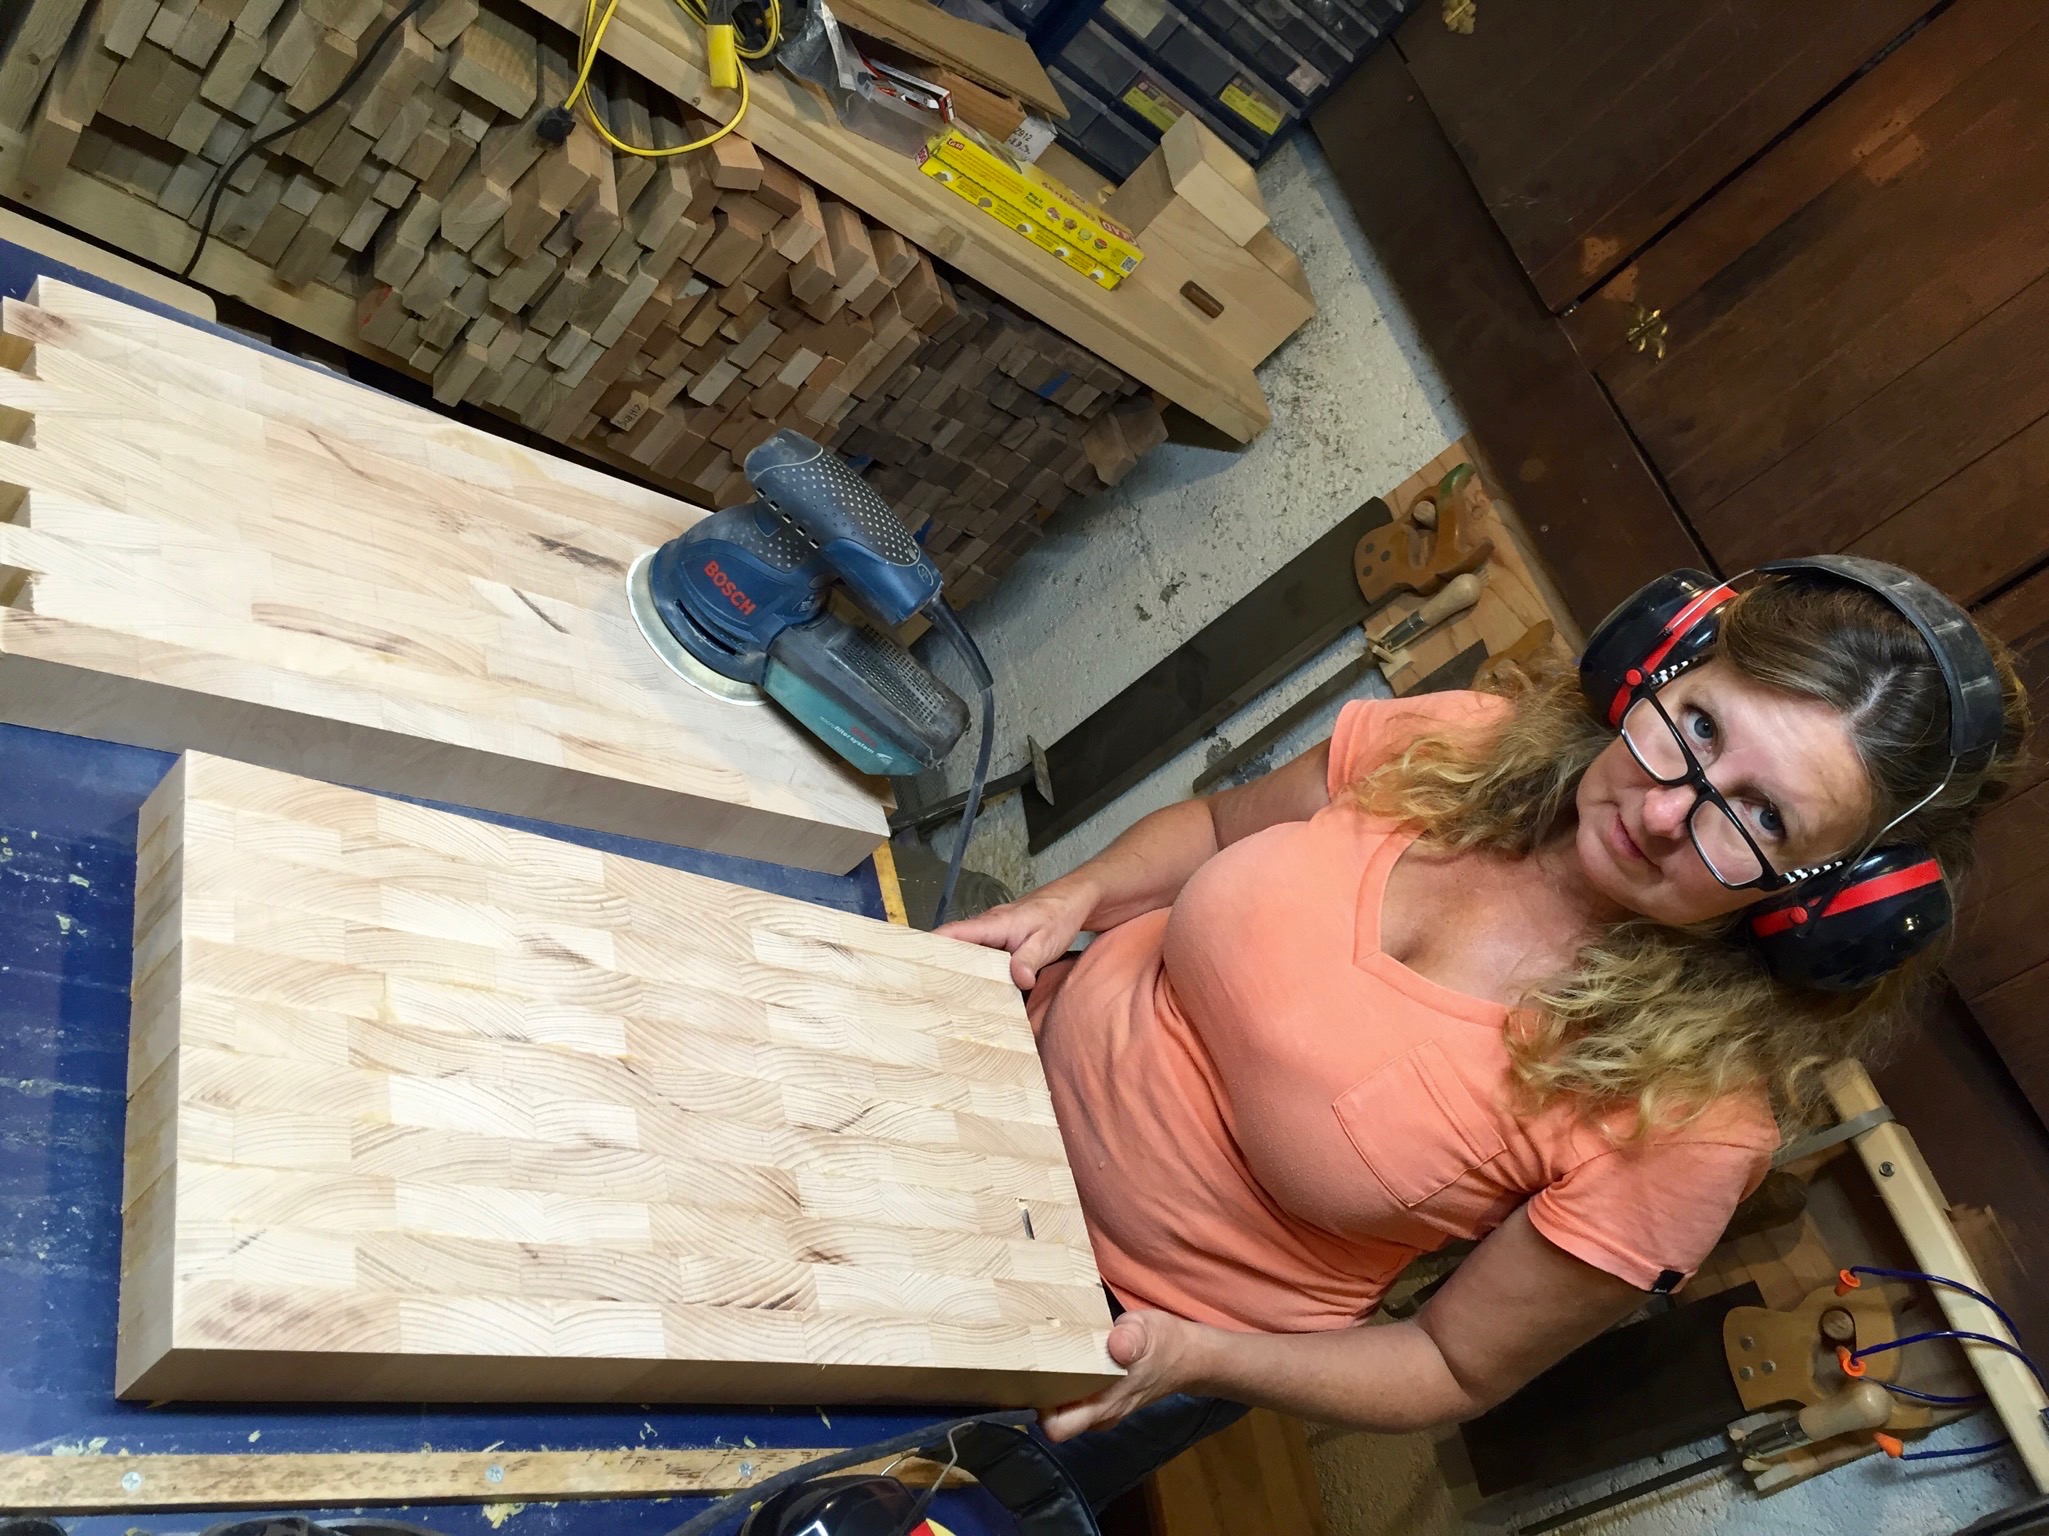
Here’s the follow-up to yesterday’s post on a couple of the cutting boards we were making.  They turned out pretty well.

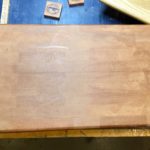
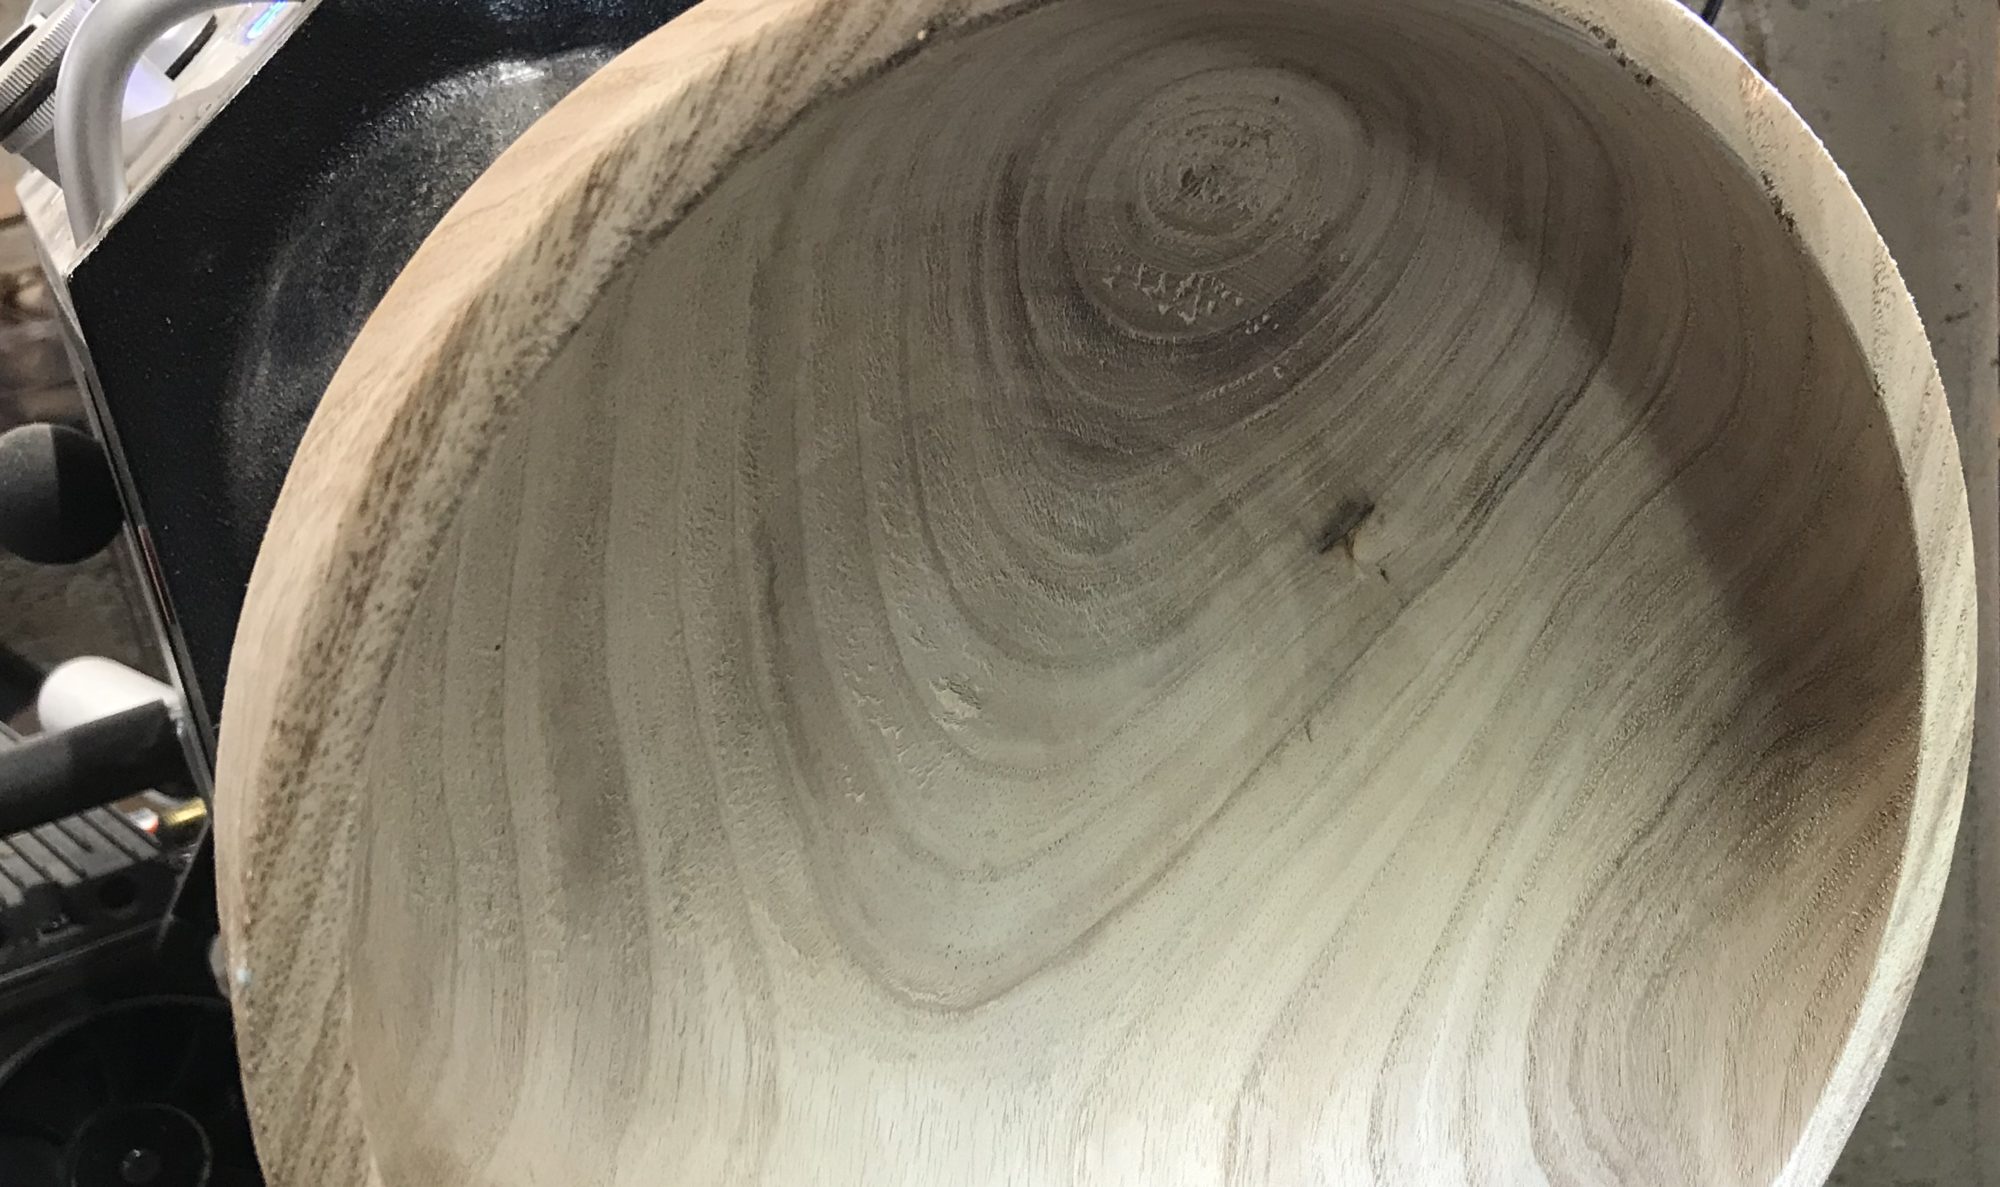
Unfortunately, it’s hard to see the beautiful patterns that the end grain makes on the beech cutting board.

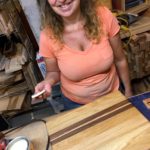
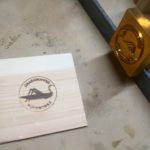
Sanded and branded! We are getting there!!!

And So It Begins…

Today was a long and tiring day. Both of us spent the morning completing some necessary tool maintenance. And then we got to have fun! We spent this afternoon building a couple of prototypes we plan to place in our Etsy Store — very soon! The first – an end grain “butcher block” cutting board and second, a serving board/platter.

Butcher Block cutting boards are “de rigeur” (i.e. necessary) if you are serious about cooking. They expose the end grain rather than long grain unlike most of the non-plastic cutting boards one finds. It’s sort of like a dart board. The fibers part to absorb the cutting edge allowing it to stay sharp longer. If you ever go by a traditional butcher shop, you’ll will probably see them cutting on either an end grain cutting board or the cross section of a tree stump — depending on how traditional they are and how long they have been in business. End grain butcher block cutting boards are the modern equivalent of the original tree stump. They can be quite beautiful. And now, we are making some.

The other item we started making is a serving platter. In this case, it’s a wooden board with feet. Since we tend to associate platters with parties and special occasions, we are making these decorative while maintaining the resilience and utility of a cutting board. The easiest decoration is to put together a straight lamination of different/contrasting woods that please the eye.  Lots of people do this. Some to great excess.

We are experimenting with simple laminations that are curved rather than linear to add visual interest.

We’ve made two variations of each of the above items. Two of the creations have been spoken for. The other two will go into our Etsy Store to start spooling it up. If you’ve read this far, please visit our store and “favorite” it.  This will greatly assist to develop our online presence.

Let us know if you find what we are creating interesting. We love feedback!

A Heart Transplant (Of Sorts)

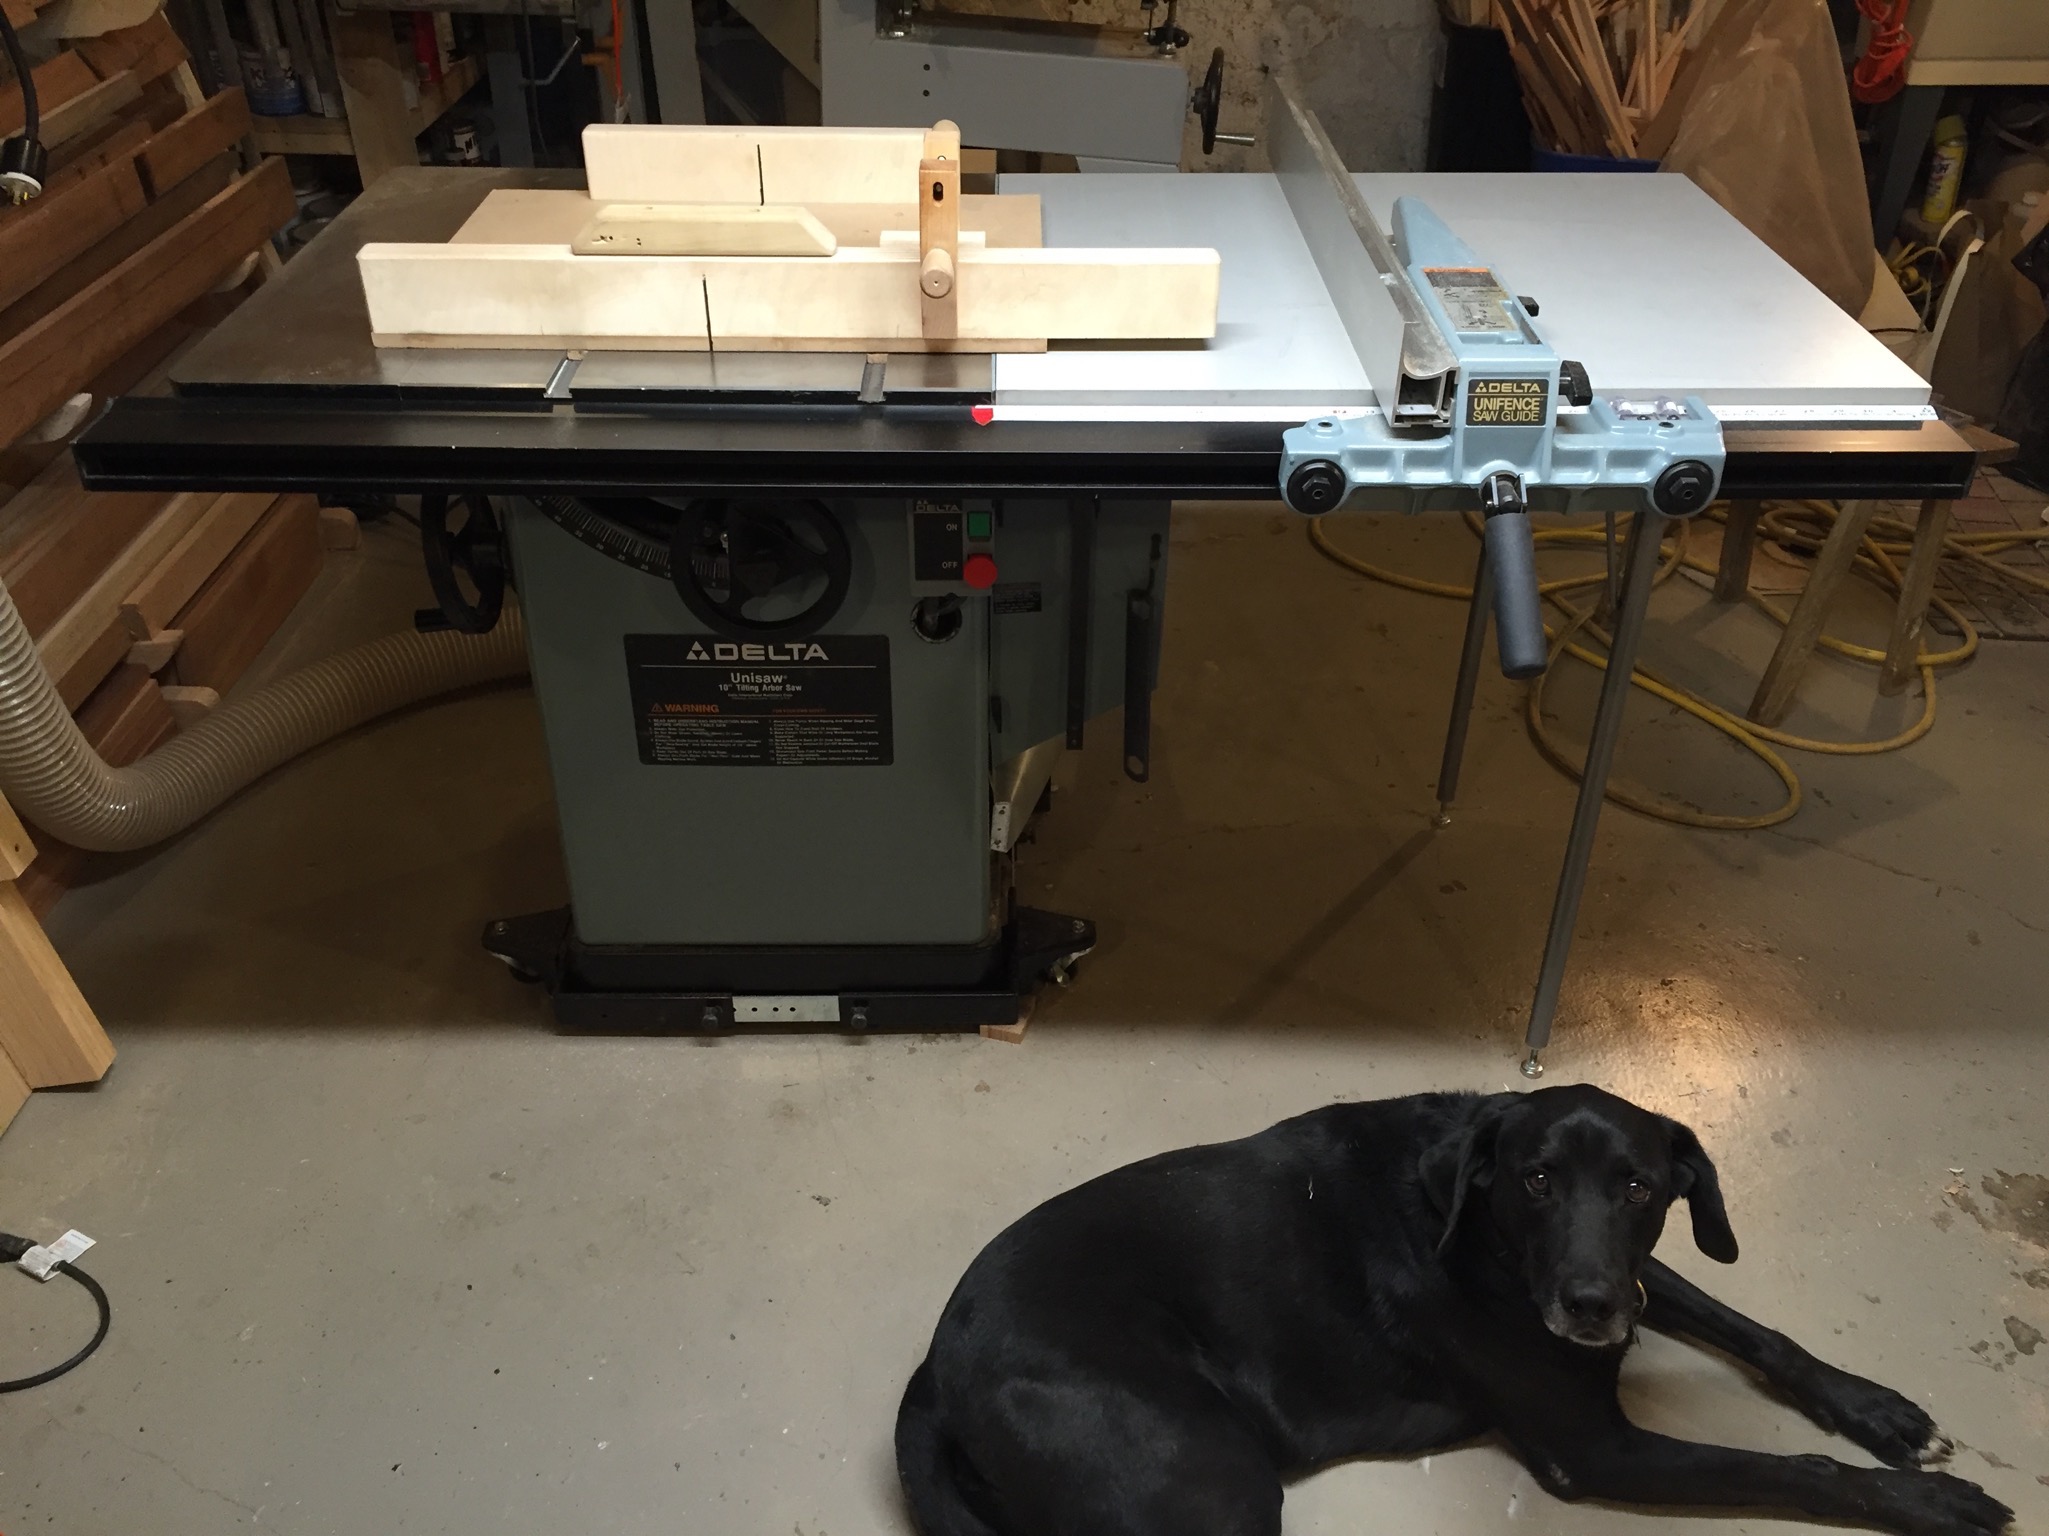
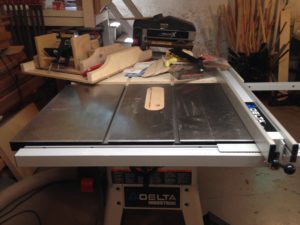
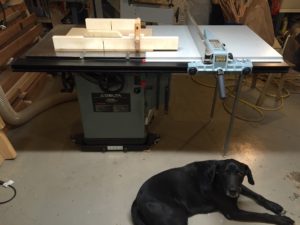
A table saw is the heart of most small woodshops. This weekend we decided it was time for the heart transplant. We replaced our trusty Delta Contractor-style saw with a more powerful Cabinet saw.

Old Delta Contractor Saw

“Why? ” you ask, would we do this when we had just managed to restore our shop back on an even keel after replacing our dust collection system the previous week.  The simple answer is we needed a more powerful saw.

Over the past few months we’ve been moving from working with plywood and softer woods like Pine, Alder, and Poplar, to woods like Walnut, Cherry, Maple, and Beech. These woods are much harder than the previous ones. They are also more sensitive to the feed rate, or speed at which they are cut. Too slow a feed rate, and the wood gets scorched and potentially warped by friction from the blade. Too fast a feed rate and the saw chokes. Both situations are dangerous as they can result in “kick back” in which the piece of wood is flung back, bruising the operator at best, and impaling them at worst.  These are technical details that one would learn in a formal apprenticeship, but are hard lessons in the youtube DIY world.

Since neither of us are enthusiastic about being whacked, or even worse skewered, by wooden projectiles of our own creation. We decided that an upgrade was in order. Fortuitously, a member of the Guild of Oregon Wood Workers (to which we belong) was closing his shop and selling his saw, so we took the opportunity and purchased it.

Out New (to us) Cabinet Saw
Our New (to us) Cabinet Saw

Integrating the new saw entailed selling our old one, liberating it from the confines of the basement, and then moving the new one in. This is no easy feat. We have our shop set up in our basement. The stairs to the basement are quite narrow and the saws are heavy and unwieldy. Once again, as luck would have it, the new owners of our trusty contractor saw helped us to both move the old saw out and bring the new saw in. This was super helpful as there was a good chance that if we tried it ourselves, one of us would have got squished.

The reason replacing the saw feels like heart surgery is our small shop became a disastrous and dangerous mess. Lots of stuff needed to be re arranged to accommodate the new beastie. Wood and partial projects were precariously balanced on each other temporarily. Our out feed table, which supports longer pieces of work, and provided storage for additional saw accessories went to the new owner. All of the sleds and jigs we had previously made needed to be rebuilt. It’s an absolute mess. That’s the downside.

The upside is we have a more capable tool with much better dust containment. Even though we need to rebuild our sleds and jigs, we can do so faster, more accurately, and safely, while making small improvements based on experience we have acquired.

UPDATE: We are back on line! The saw’s been calibrated. The basic sleds have been rebuilt. The Unisaw saw works like a dream.

Stay tuned. We can make sawdust again. We may have product to show soon!?!

All About Branding

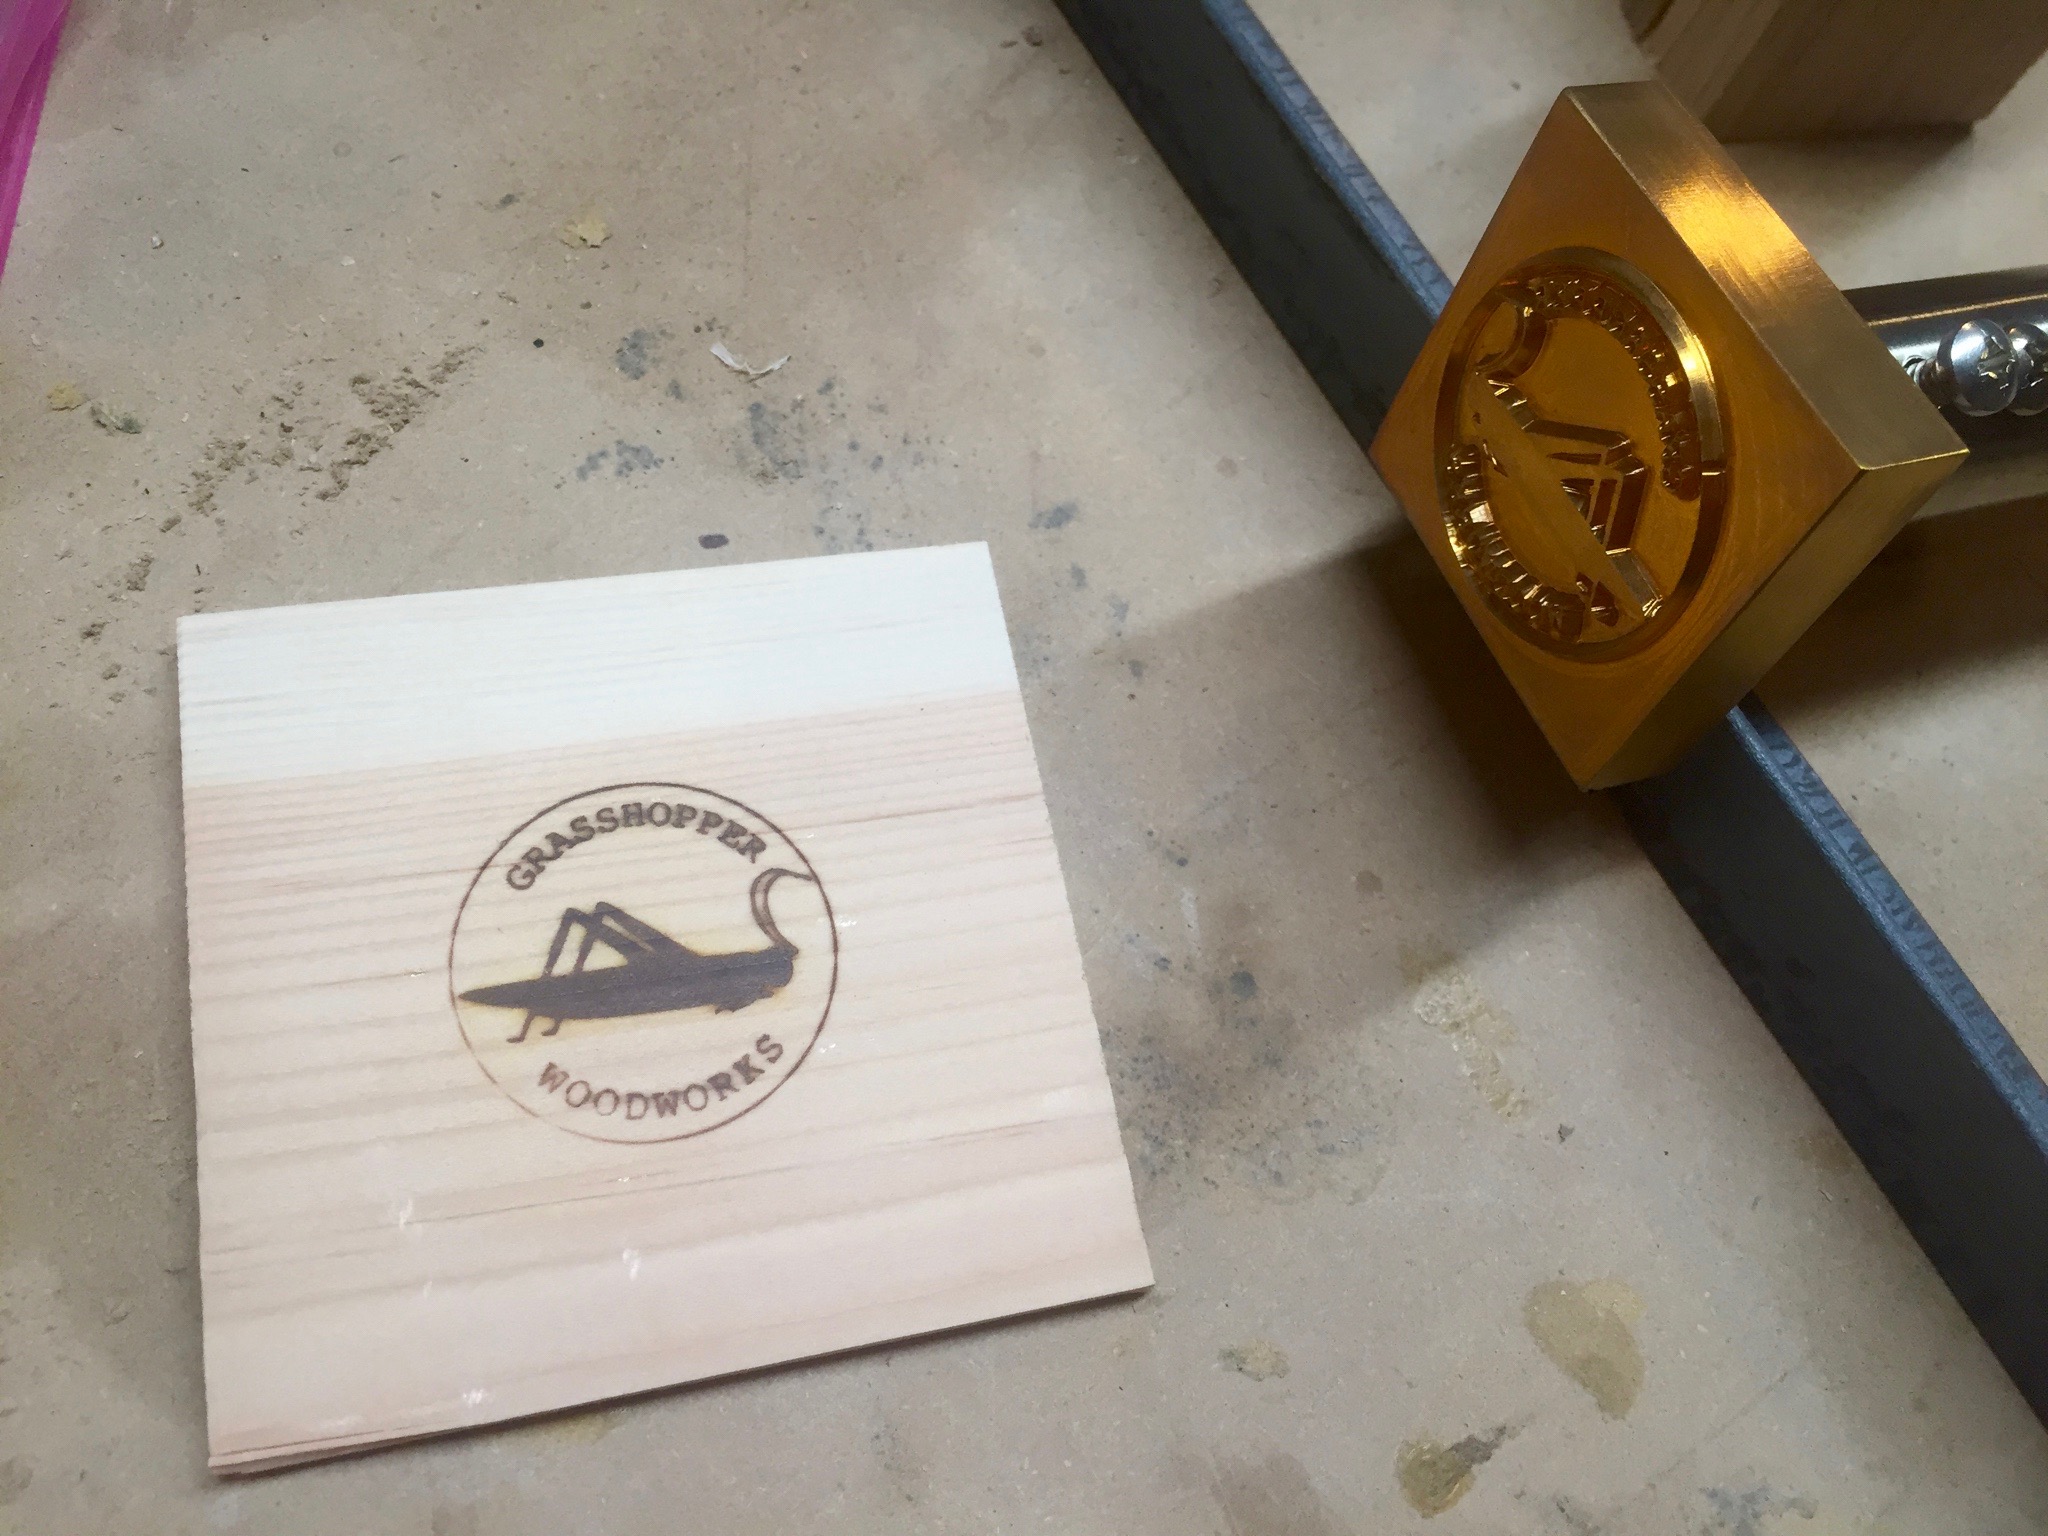
A large part of building a small business appears to be about branding. Perhaps we’ve misunderstood the memo. We recently purchased and received a branding iron with which to brand our products.

Here are pictures of our first attempts at branding. We love our brand and hope you do too.

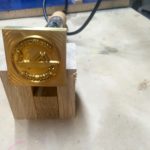
Note: Don't heat your branding iron on a wooden stand -- for obvious reasons.
      The shaft got a lot hotter than we expected and scorched the wood. Duh.