If you read our first post on green (freshly cut) wood , you’d have got a sense for why green wood is an interesting medium with which to work. In this post we’ll get into some more detail regarding what we have learned.
Initially, our interest in green wood had to to with the relative affordability of the medium. Green wood is essentially unseasoned firewood. If one prepares it correctly, it can become a beautiful piece of work. If not, it still works as fire wood. It’s great for learning.
What we learned from getting and processing a bunch of green wood follows:
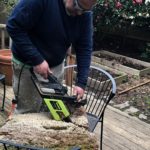
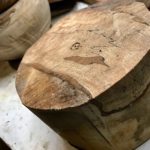
- Cut the pith out of rounds and seal the end grain. This is a “must do” or the wood starts spitting very quickly as it dries leaving one with … firewood.
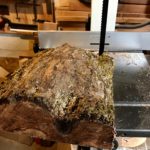
- Trim rounds or slabs into blanks (and seal the end grain). Each round or slab has one major piece in it. The trick is to identify what that is and optimize how the blanks are cut. There maybe more than one piece trapped in the piece of wood. The trick is to determine the largest and/or most desirable one and cut that out first. The rest follow.. There’s surprisingly more “waste” in this process than one would think.
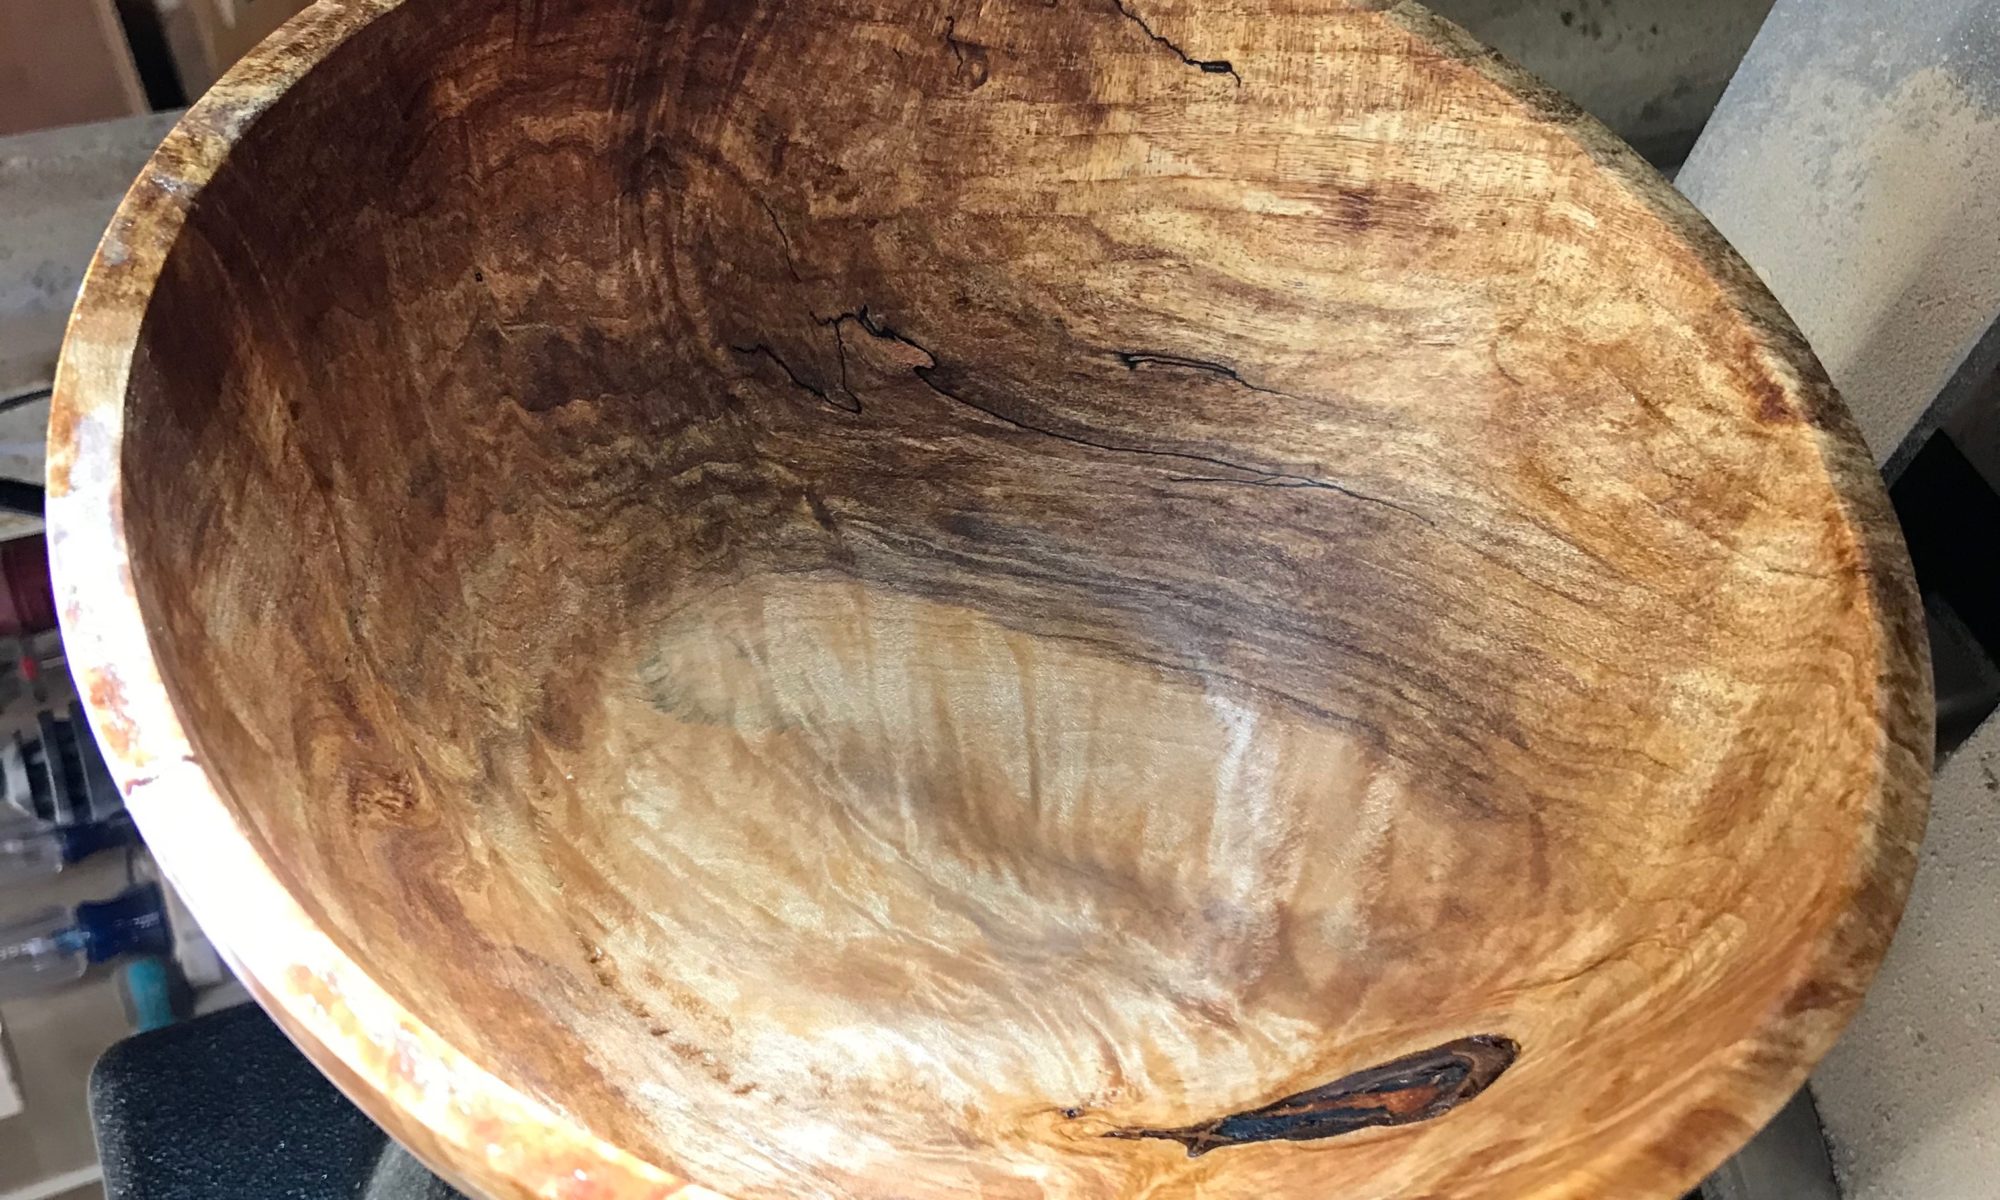
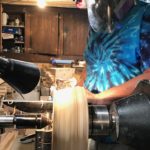
- Rough turn the blanks. For platters (open forms), bowls (enclosed forms) , and vases (hollow forms), this means turning the piece so that the wall thickness is approximately 10%+ of the finished diameter. This will allow the wood to move as it dries. The end grain shrinks more than the long grain turning the round bowl into an oval. Leaving a thick wall permits the piece to be turned round regardless.
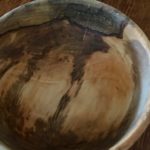
- Put the rough turned blanks up to dry and check them regularly. If the wood dries too fast, it will start to crack. In this case, one can either seal the wood using a green-wood sealer, or put it in a plastic bag filled with (green) wood shavings to retard the drying. Note that if the bag is sealed, there’s a chance the wood may start to rot or spalt. If the wood is too wet, it will start to have surface mold. In this case, the wood needs to be moved to a dryer environment. It’s also possible to seal the blank with wood sealer to retard and even out moisture loss.
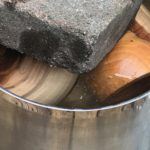
- Boiling the rough turned blanks can expedite the drying process and help prevent checks or cracks. Green wood has two types of water in it: bound water contained in the cell walls of the tree, and free water that the tree uses to move nutrients around. Boiling the wood (for a while) ruptures the cell walls and frees the bound water. If one allows the wood to cool down in the heated water, it also serves to “anneal” the wood by allowing the lignin that gives the wood it’s structure to relax and reset — important if the tree has stresses from asymmetric growth. This reduces the amount drying time and checking that occurs from stress. Beware, however, that if the free water is allowed to dry out too quickly there will be some checking.
If this seems like a lot of detail, it is. It is also a process that master woodworkers know intuitively, and which we are trying to learn. Some of what old times wood workers do is art. Some of it is science. And, some of what they do maybe pointless superstition. A part of the fun and challenge of what we are doing is sorting through all of the preceding to come up with our own understanding on how to work with wood.
A couple of useful resources:
- Understanding Wood by R. Bruce Hoadley
- Fine Woodworking on Wood and How to Dry it: 41 Articles
