After learning to make things predictably flat and square, we’ve turned (bad pun) to making things round. There are a few things we’ve learned from our turning experiences. We figured they are worth sharing for new turners like us — listed below.
- SAFETY
- Ride the bevel
- Stay Sharp
- Chucking
- Build vs. Buy
- Free Wood
SAFETY
It’s surprising how quickly things can go wrong on a lathe. One moment you have a happily spinning bowl. The next, it’s exploded off the lathe, pieces ricocheting off your face shield, bouncing off the ceiling, and scaring the bejeebers out of the dog . While there’s always a reason for which work comes apart, the reasons aren’t always obvious ahead of time — particularly to beginning turners. ALWAYS wear safety gear.
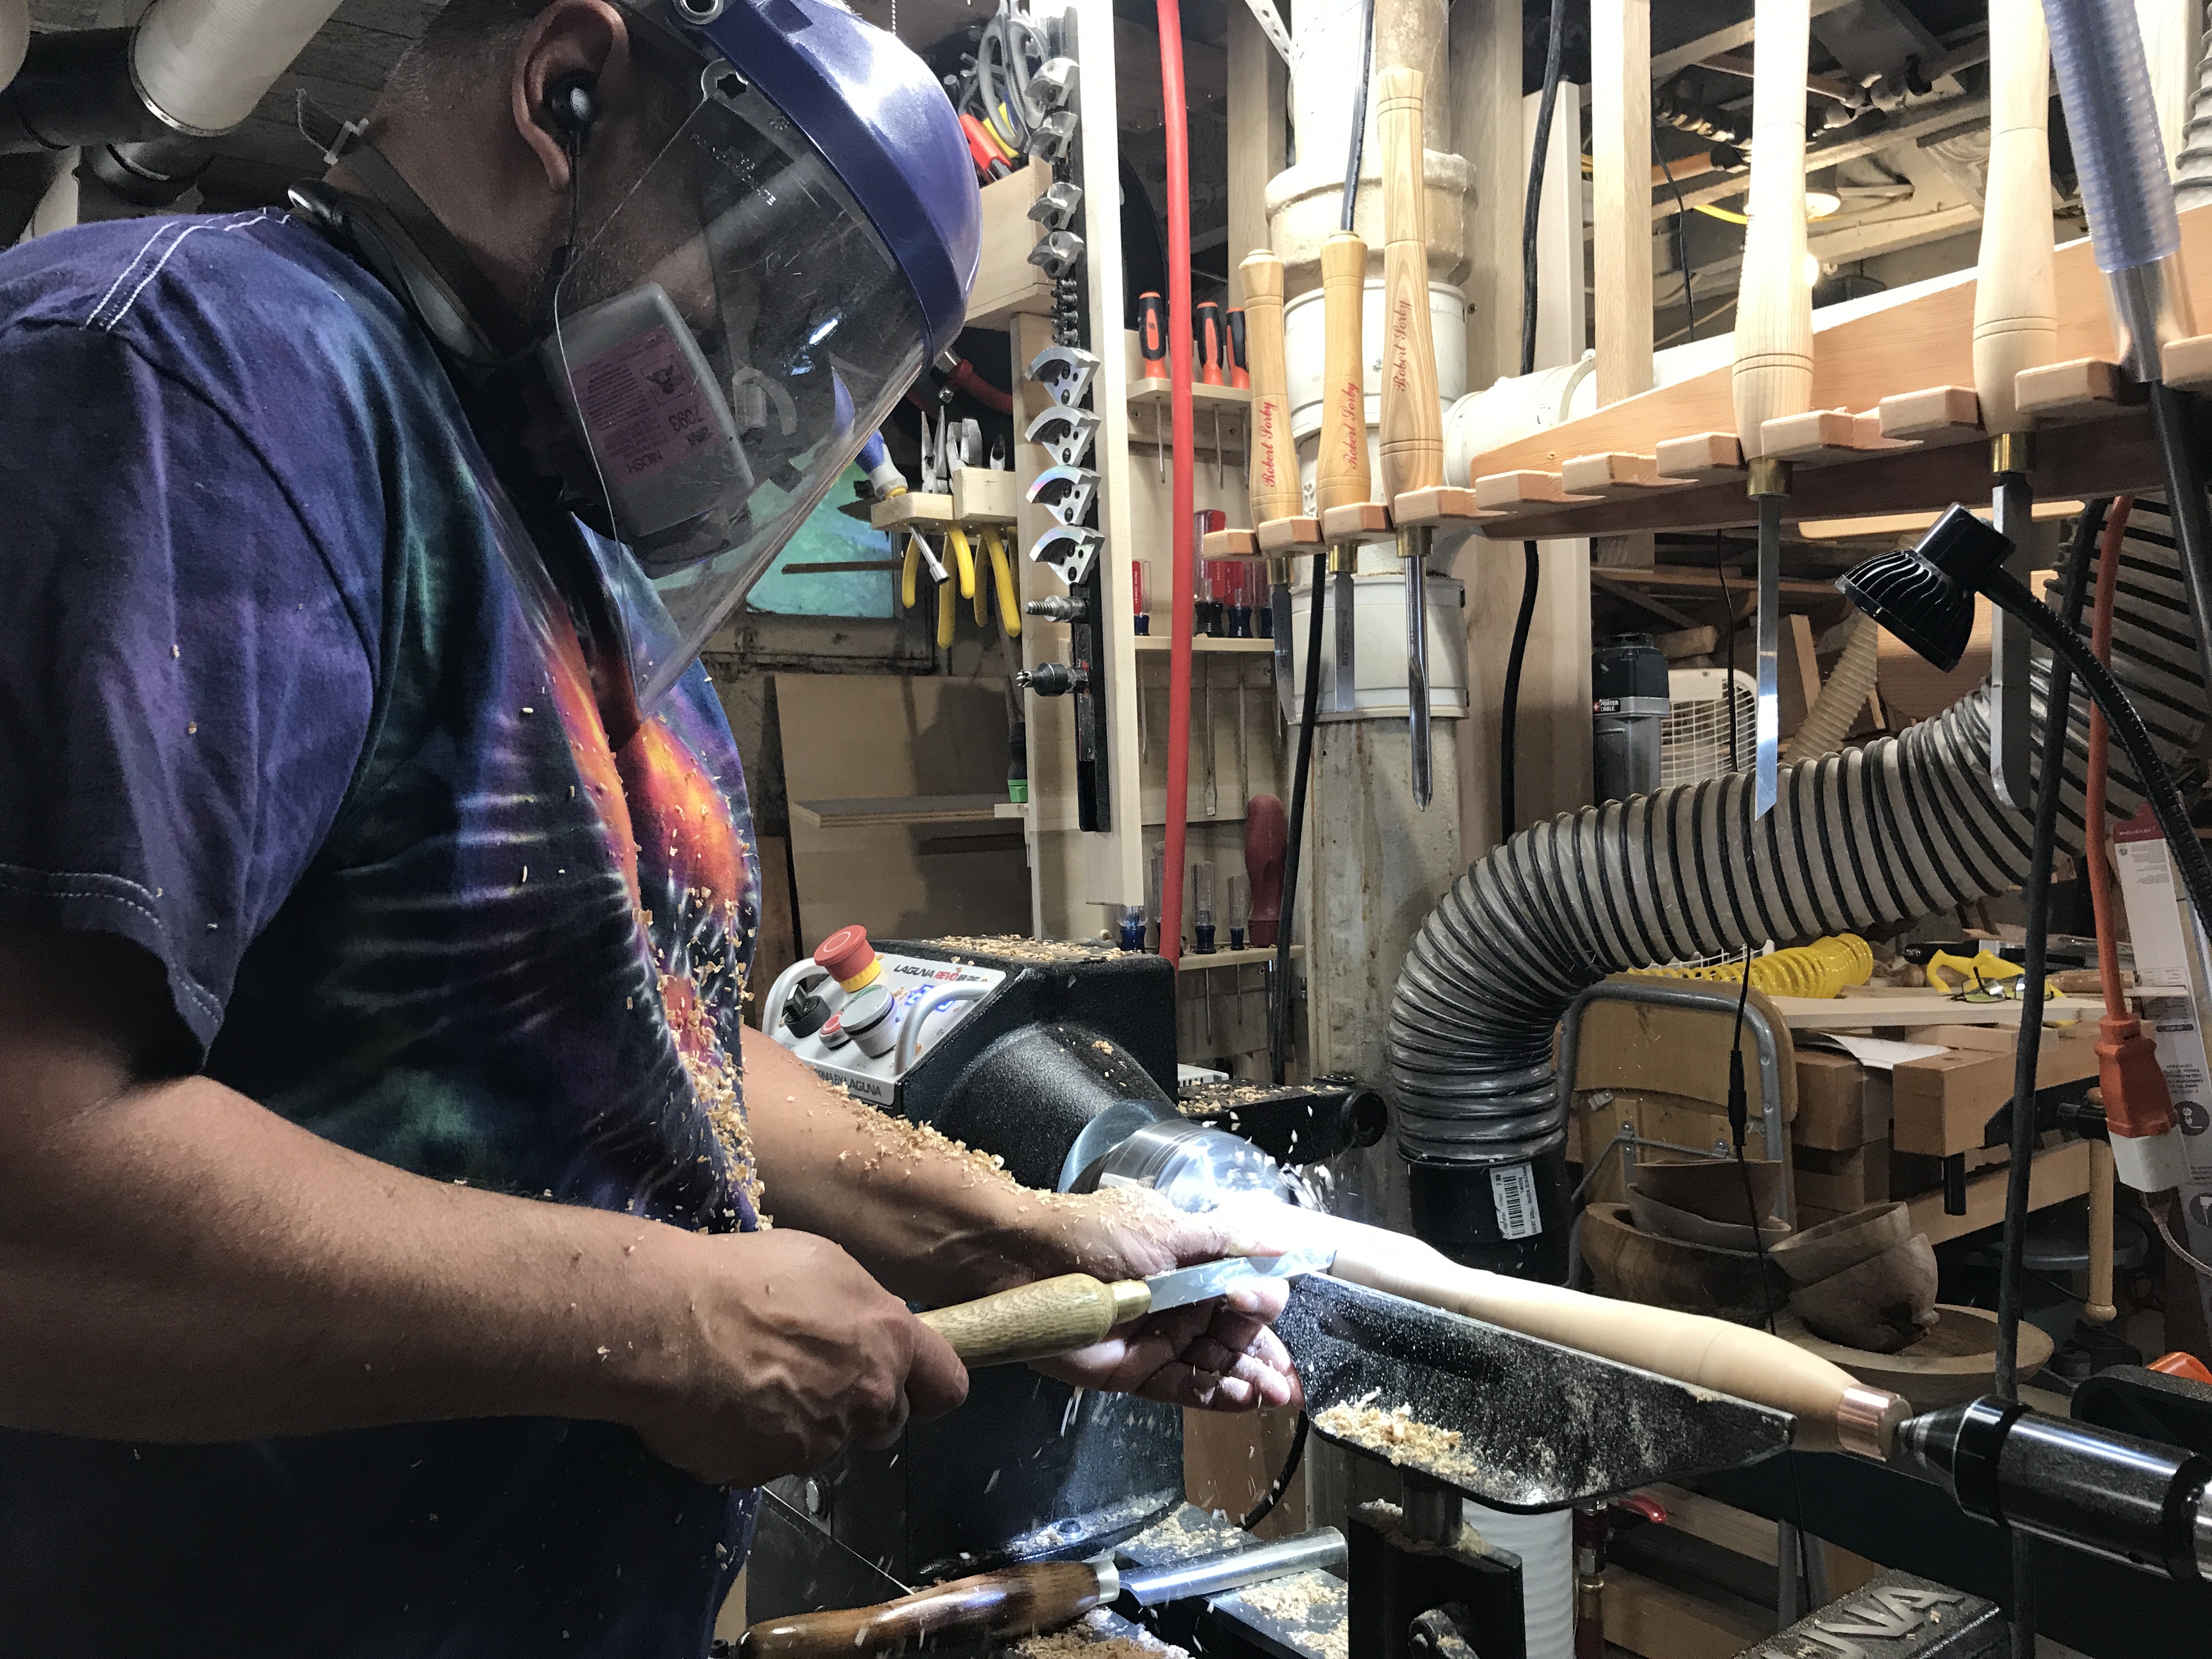
The absolute minimum safety equipment is a pair of safety glasses *and* a face shield. Having had seemingly sound items explode off the lathe, we can confirm these two items are more than worth the cost of a trip to the emergency room. Additionally we wear a dust masks and hearing protection. We don’t turn our lathes on without wearing the above. It is second nature at this point.
Ride The Bevel
What is “the bevel” you may ask? It is the ground off part of the tool that forms the cutting edge. It is the part of the tool that one’s supposed to rub on a workpiece just before engaging the cutting edge.
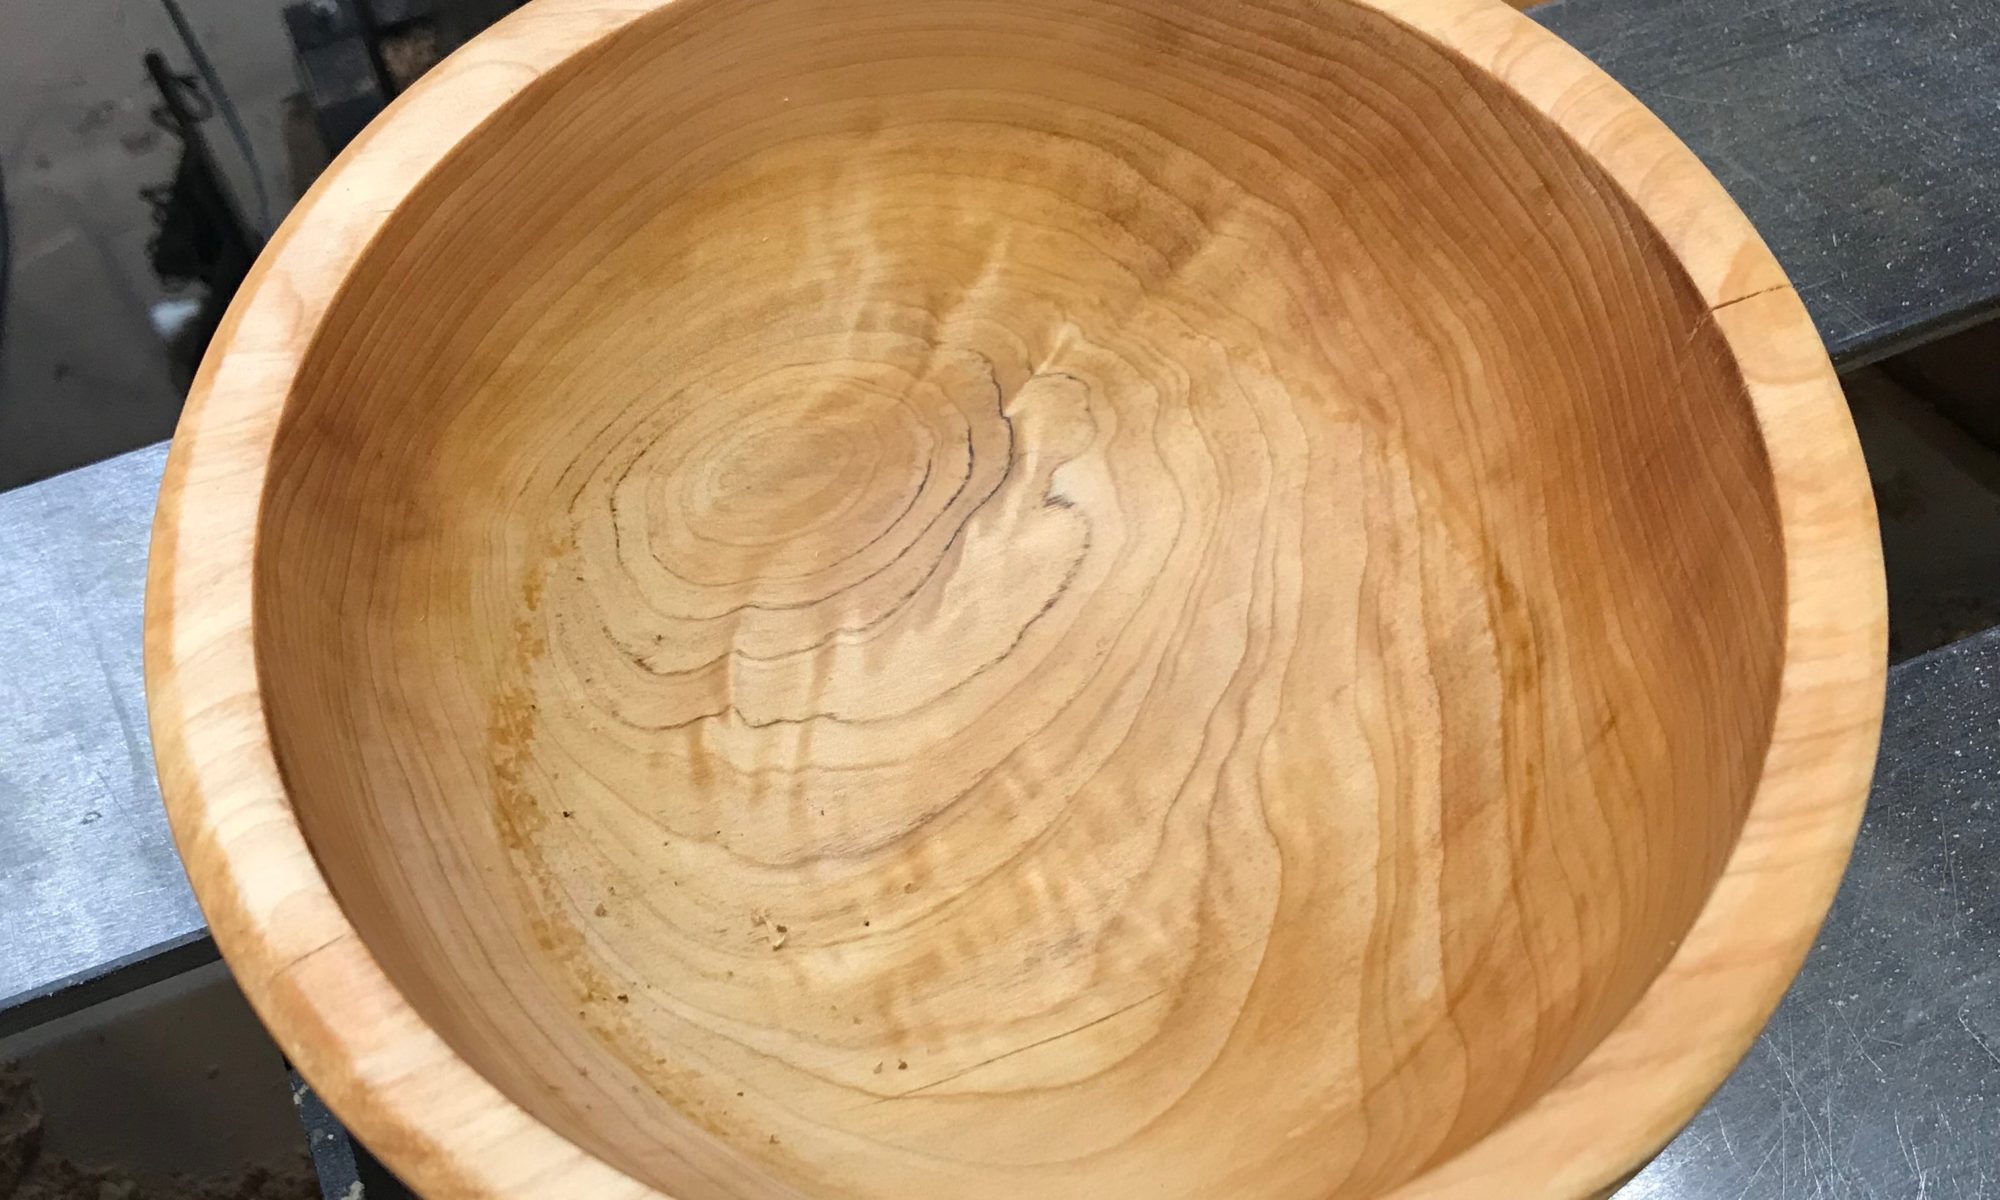
There are a couple of different ways of removing wood while turning: cutting and scraping. Cuts that are well supported by the bevel leave a nice smooth finish — even on challenging spalted woods. Scraping tends to tear at the fibers and requires corrective sanding. Ride the bevel.
There is a third option, shear scraping, that uses the burr on the scraper to make an exceedingly fine cut. That, however, is a more advanced technique. For the moment, we are staying with riding the bevel.
Stay Sharp
Sharp tools are probably the most important requirement for nicely turned work. A sharp tool will let you make fine shavings (provided you ride the bevel), leaving a glossy finish that requires minimal sanding. While it may seem like sharpening or honing a tool is best done at the start or end of turning a piece, or two, or three, it may be necessary to sharpen (or hone) several times while turning a single pice to achieve the best results. While this is particularly true for High Speed Steel tools, carbide tools can also be lightly honed to improve performance.
Chucking
If one can hold a workpiece safely and securely on the lathe, one can turn it. And, the piece can be turned on more than one axis for interesting effects. A quick look at the AAW Woodturning magazine has pictures of wonderfully creative turnings that make one wonder, “exactly how did they do THAT?!?” The answer is creative “chucking.”
“Chucking” is the process by which a workpiece is held onto the headstock (motorized part) of a lathe. There are several different kinds of chucks on can either build or buy that help the process. Turning material that’s between centers or mounted to a faceplate or scroll chuck is fine — but there is so much more. We found a book titled Fixtures and Chucks for Wood Turning by Doc Green that is a brilliant resource on this topic. It’s well worth the expense and a good segue into the next topic.
Build vs. Buy
Besides power tools, most of the other tools, fixtures, and accessories that one needs for woodworking are relatively easily made. There are specialized jigs or fixtures that we purchased early on that we came to realize would have been preferable (and far less expensive) to have made ourselves.
DIY Jigs and Fixtures are particularly applicable for wood turning. For example, fixtures like vacuum chucks are pretty easily made if you know how. Otherwise, they cost approximately $100 each to buy. The same is true for collet-type chucks, donut chucks, the list goes on and on.
Besides chucks, you can also purchase the tool steel required to fabricate turning tools — other than gouges. The most interesting place we’ve found from which to order tool steel is MSC Direct, though we have yet to buy material from them.
In trying to pull all of this information together, there are a couple of books we found particularly useful:
- Doc Green’s Fixtures and Chucks mentioned above
- Mike Darlow on The Practice of Woodturning
If you’ve got this far, the next question is “wood!?! Where do you find cheap wood?”
Free Wood
The wood required to practice turning can get pretty expensive very quickly. There’s a cheap source if you are patient: unspilt firewood or wood from recently felled neighborhood trees. You’d be surprised at how much nice wood you can acquire for the cost of hauling it away.
The downside to this approach to getting wood for turning is that you have to prepare it and allow it to season. It’s not in nicely prepared and sealed blanks. It helps to have a chainsaw and/or a band saw to convert the raw green wood into spindle or bowl blanks. If you don’t have the required tools, there undoubtedly some generous local turners who have the gear you need who’s likely happy to help out. Should you choose the route of picking up “free wood” be sure to seal the ends with Anchor Seal to avoid cracking and checking.
If the entire process seems intimidating, check out Richard Raffan’s book The Art of Turned Bowls. The book does an excellent job of covering the process of preparing raw wood for turning. Turning green wood, however, is so much more fun than seasoned wood.
We hope you find the preceding information helpful. If you’re a beginning turner like us or a more experienced and/or accomplished wood worker we’d love to hear your tips, trick, and suggestions.