Our top 6 Wood Turning Insights

After learning to make things predictably flat and square, we’ve turned (bad pun) to making things round. There are a few things we’ve learned from our turning experiences. We figured  they are worth sharing for new turners like us — listed below.

  • SAFETY
  • Ride the bevel
  • Stay Sharp
  • Chucking
  • Build vs. Buy
  • Free Wood

SAFETY
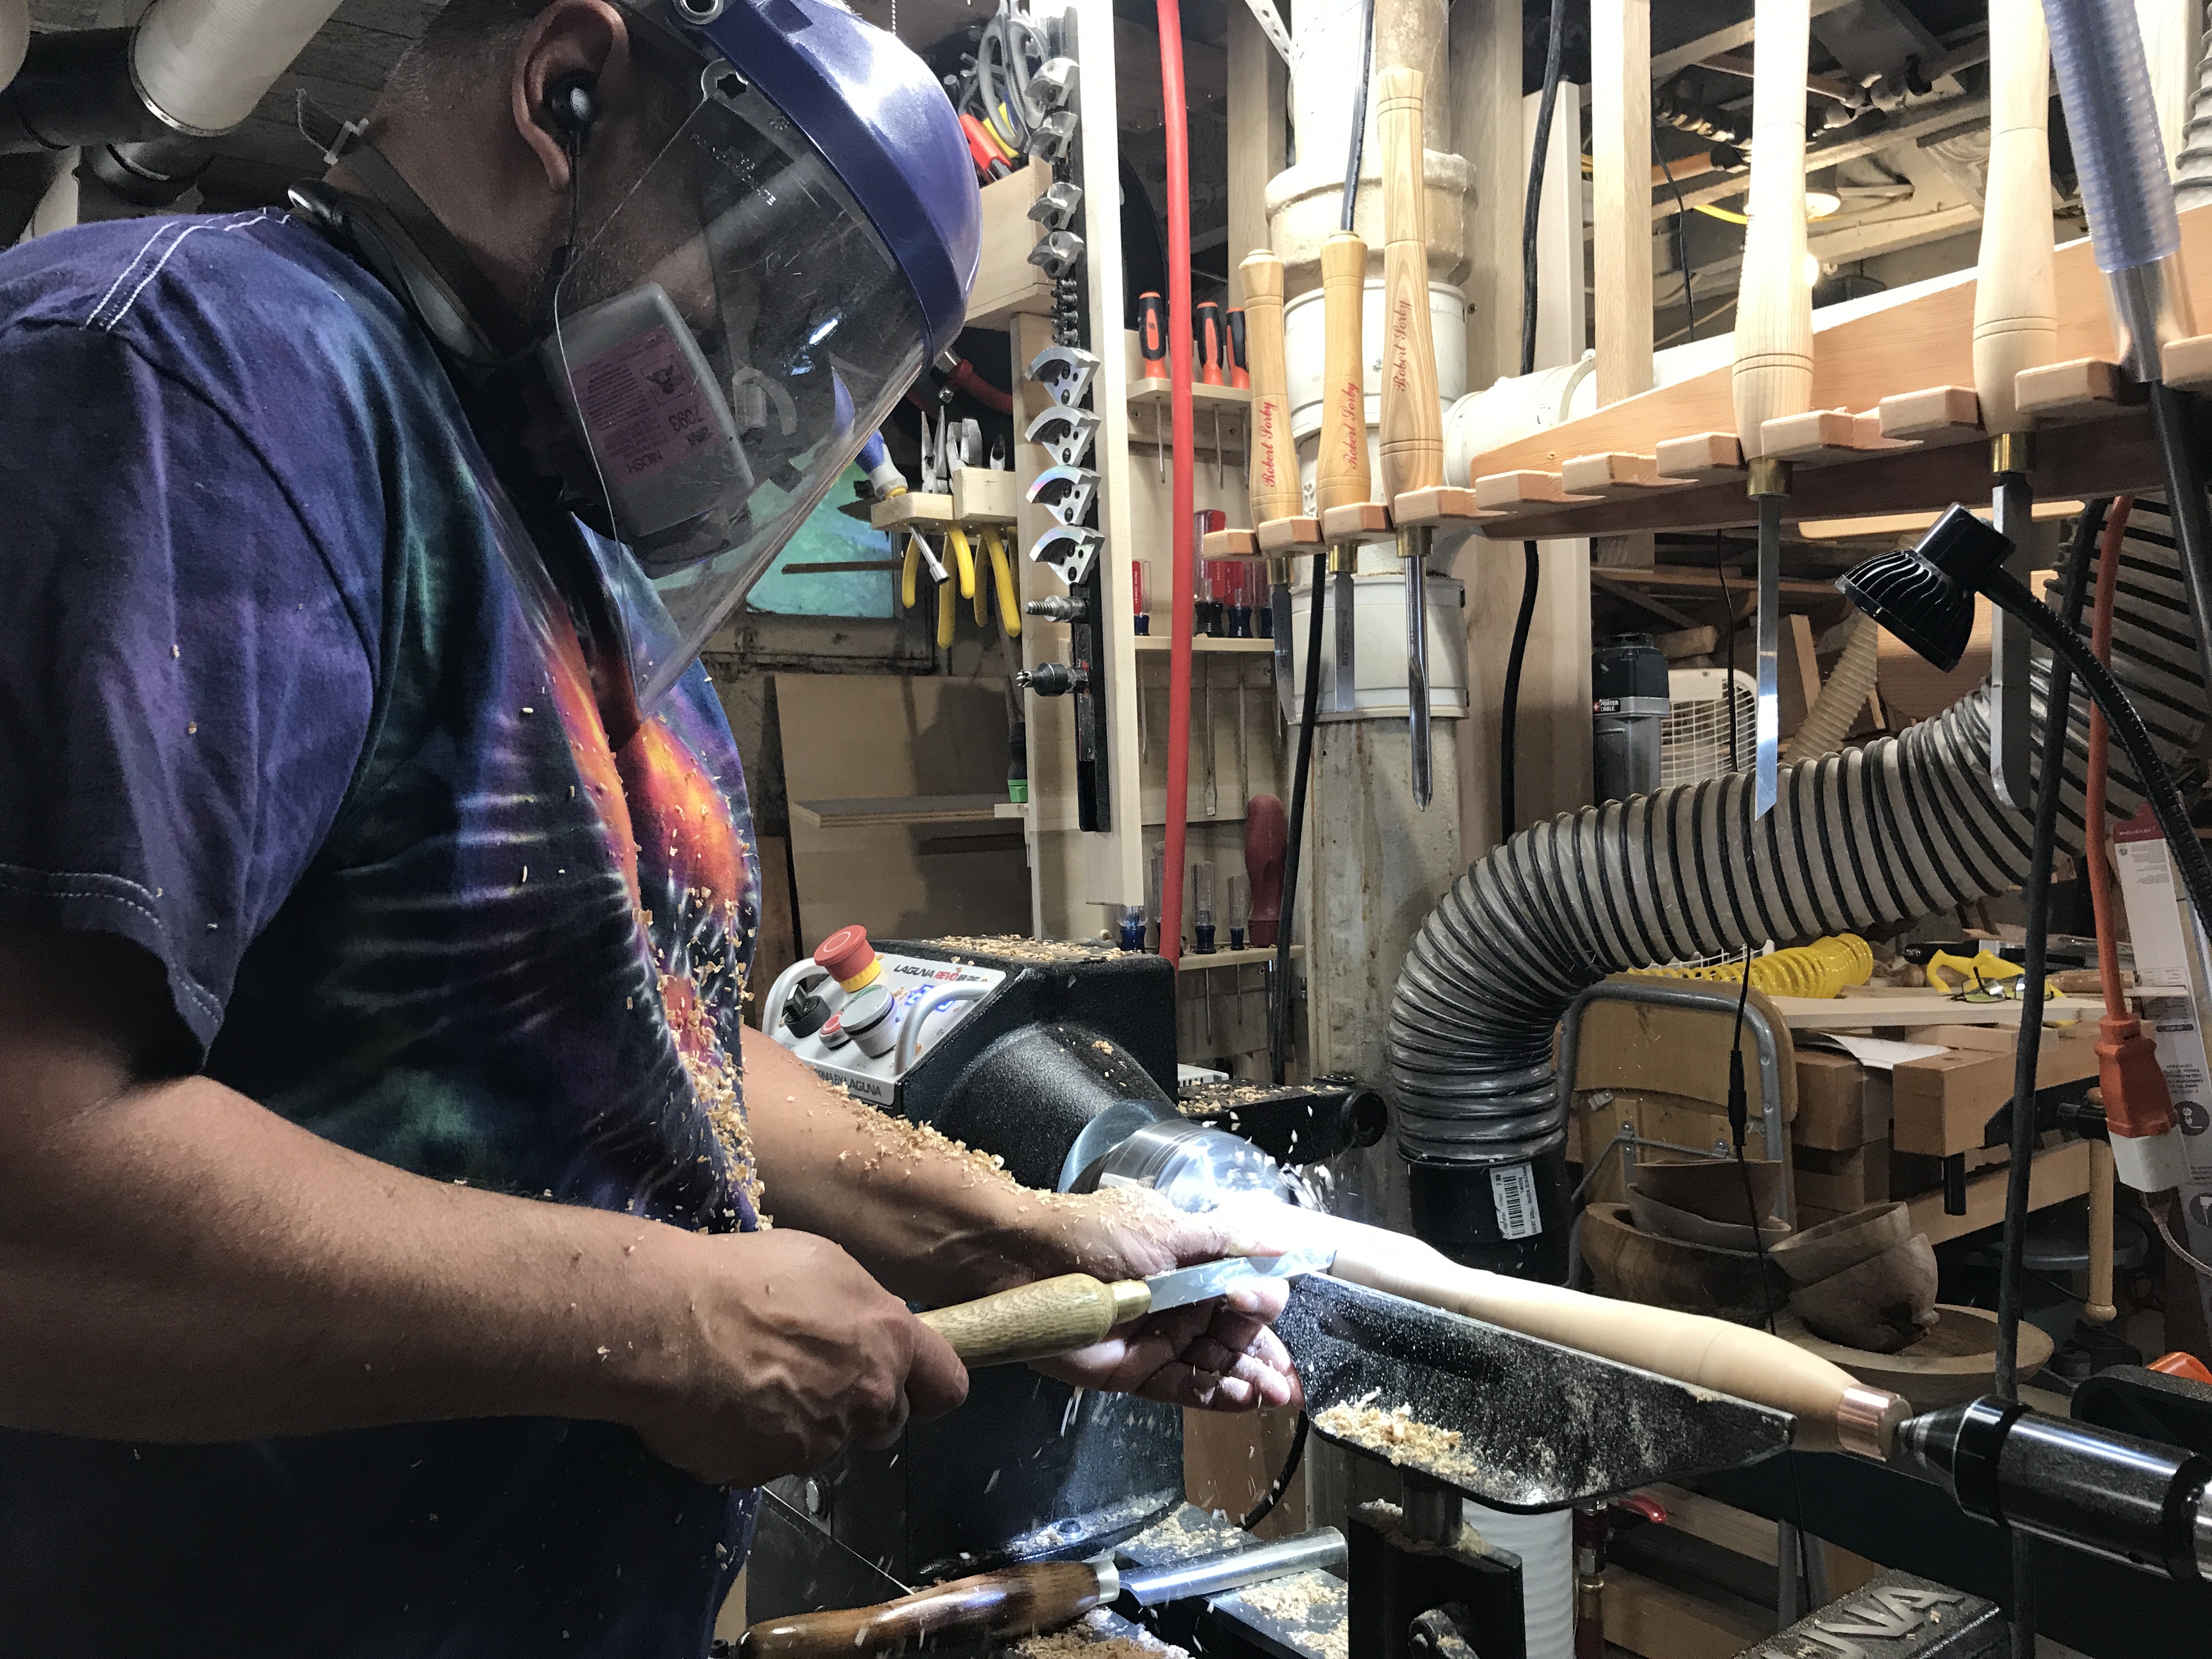
It’s surprising how quickly things can go wrong on a lathe. One moment you have a happily spinning bowl. The next, it’s exploded off the lathe, pieces ricocheting off your face shield, bouncing off the ceiling, and scaring the bejeebers out of the dog . While there’s always a reason for which work comes apart, the reasons aren’t always obvious ahead of time — particularly to beginning turners. ALWAYS wear safety gear.

The absolute minimum safety equipment is a pair of safety glasses *and* a face shield. Having had seemingly sound items explode off the lathe, we can confirm these two items are more than worth the cost of a trip to the emergency room. Additionally we wear a dust masks and hearing protection. We don’t turn our lathes on without wearing the above. It is second nature at this point.

Ride The Bevel
What is “the bevel” you may ask? It is the ground off part of the tool that forms the cutting edge. It is the part of the tool that one’s supposed to rub on a workpiece just before engaging the cutting edge.

There are a couple of different ways of removing wood while turning: cutting and scraping. Cuts that are well supported by the bevel leave a nice smooth finish — even on challenging spalted woods. Scraping tends to tear at the fibers and requires corrective sanding. Ride the bevel.

There is a third option, shear scraping, that uses the burr on the scraper to make an exceedingly fine cut. That, however, is a more advanced technique. For the moment, we are staying with riding the bevel.

Stay Sharp
Sharp tools are probably the most important requirement for nicely turned work. A sharp tool will let you make fine shavings (provided you ride the bevel), leaving a glossy finish that requires minimal sanding. While it may seem like sharpening or honing a tool is best done at the start or end of turning a piece, or two, or three, it may be necessary to sharpen (or hone) several times while turning a single pice to achieve the best results. While this is particularly true for High Speed Steel tools, carbide tools can also be lightly honed to improve performance.

Chucking
If one can hold a workpiece safely and securely on the lathe, one can  turn it.  And, the piece can be turned on more than one axis for interesting effects. A quick look at the AAW Woodturning magazine has pictures of wonderfully creative turnings that make one wonder, “exactly how did they do THAT?!?” The answer is creative “chucking.”

“Chucking” is the process by which a workpiece is held onto the headstock (motorized part) of a lathe. There are several different kinds of chucks on can either build or buy that help the process. Turning material that’s between centers or mounted to a faceplate or scroll chuck is fine — but there is so much more. We found a book titled Fixtures and Chucks for Wood Turning by Doc Green that is a brilliant resource on this topic. It’s well worth the expense and a good segue into the next topic.

Build vs. Buy
Besides power tools, most of the other tools, fixtures, and accessories that one needs for woodworking are relatively easily made. There are specialized jigs or fixtures that we purchased early on that we came to realize would have been preferable (and far less expensive) to have made ourselves.

DIY Jigs and Fixtures are particularly applicable for wood turning. For example, fixtures like vacuum chucks are pretty easily made if you know how. Otherwise, they cost approximately $100 each to buy. The same is true for collet-type chucks, donut chucks, the list goes on and on.

Besides chucks, you can also purchase the tool steel required to fabricate turning tools  — other than gouges. The most interesting place we’ve found from which to order tool steel is MSC Direct, though we have yet to buy material from them.

In trying to pull all of this information together, there are a couple of books we found particularly useful:

If you’ve got this far, the next question is “wood!?! Where do you find cheap wood?”

Free Wood
The wood required to practice turning can get pretty expensive very quickly. There’s a cheap source if you are patient: unspilt firewood or wood from recently felled neighborhood trees. You’d be surprised at how much nice wood you can acquire for the cost of hauling it away.

The downside to this approach to getting wood for turning is that you have to prepare it and allow it to season. It’s not in nicely prepared and sealed blanks. It helps to have a chainsaw and/or a band saw to convert the raw green wood into spindle or bowl blanks. If you don’t have the required tools, there undoubtedly some generous local turners who have the gear you need who’s likely happy to help out.  Should you choose the route of picking up “free wood” be sure to seal the ends with Anchor Seal to avoid cracking and checking.

If the entire process seems intimidating, check out Richard Raffan’s book The Art of Turned Bowls.  The book does an excellent job of covering the process of preparing raw wood for turning. Turning green wood, however, is so much more fun than seasoned wood.


We hope you find the preceding information helpful. If you’re a beginning turner like us or a more experienced and/or accomplished wood worker we’d love to hear your tips, trick, and suggestions.
Green Wood Blues Take 1

Something we have learned from working with wood over the past year is that working wood takes time. That may seem odd, but there’s a cadence and a rhythm in making things with wood that one ignores at one’s peril. Instant gratification is not an option.

Recently, we have started working with green (freshly harvested, unseasoned) wood. This is a departure from the more-or-less-straight-and-flat, kiln dried wood, that we were using previously. Even with that, rushing things is not advisable. It’s unsafe. Both the wood and oneself need to relax.

So, what the difference? There are several, but here’s a little peek.

#1: Green wood is wet. It still contains most of the moisture in the tree since it’s been freshly cut.  It needs to dry out, be seasoned, before it can be used — unless one wants to specifically use effects of the drying process.

Most of the wood one encounters in furniture has been kiln dried. Some of the more expensive custom furniture may have air dried wood (if it has steam bent elements, for example), but that’s increasingly rare these days. It takes approximately a year per inch of board thickness for wood to dry out. Yes. A year.

Dry the wood too fast, and it warps and checks (cracks or splits). Dry the wood too slowly, and it may spalt — i.e. start rotting. We have another post on spalting to read if you wish.

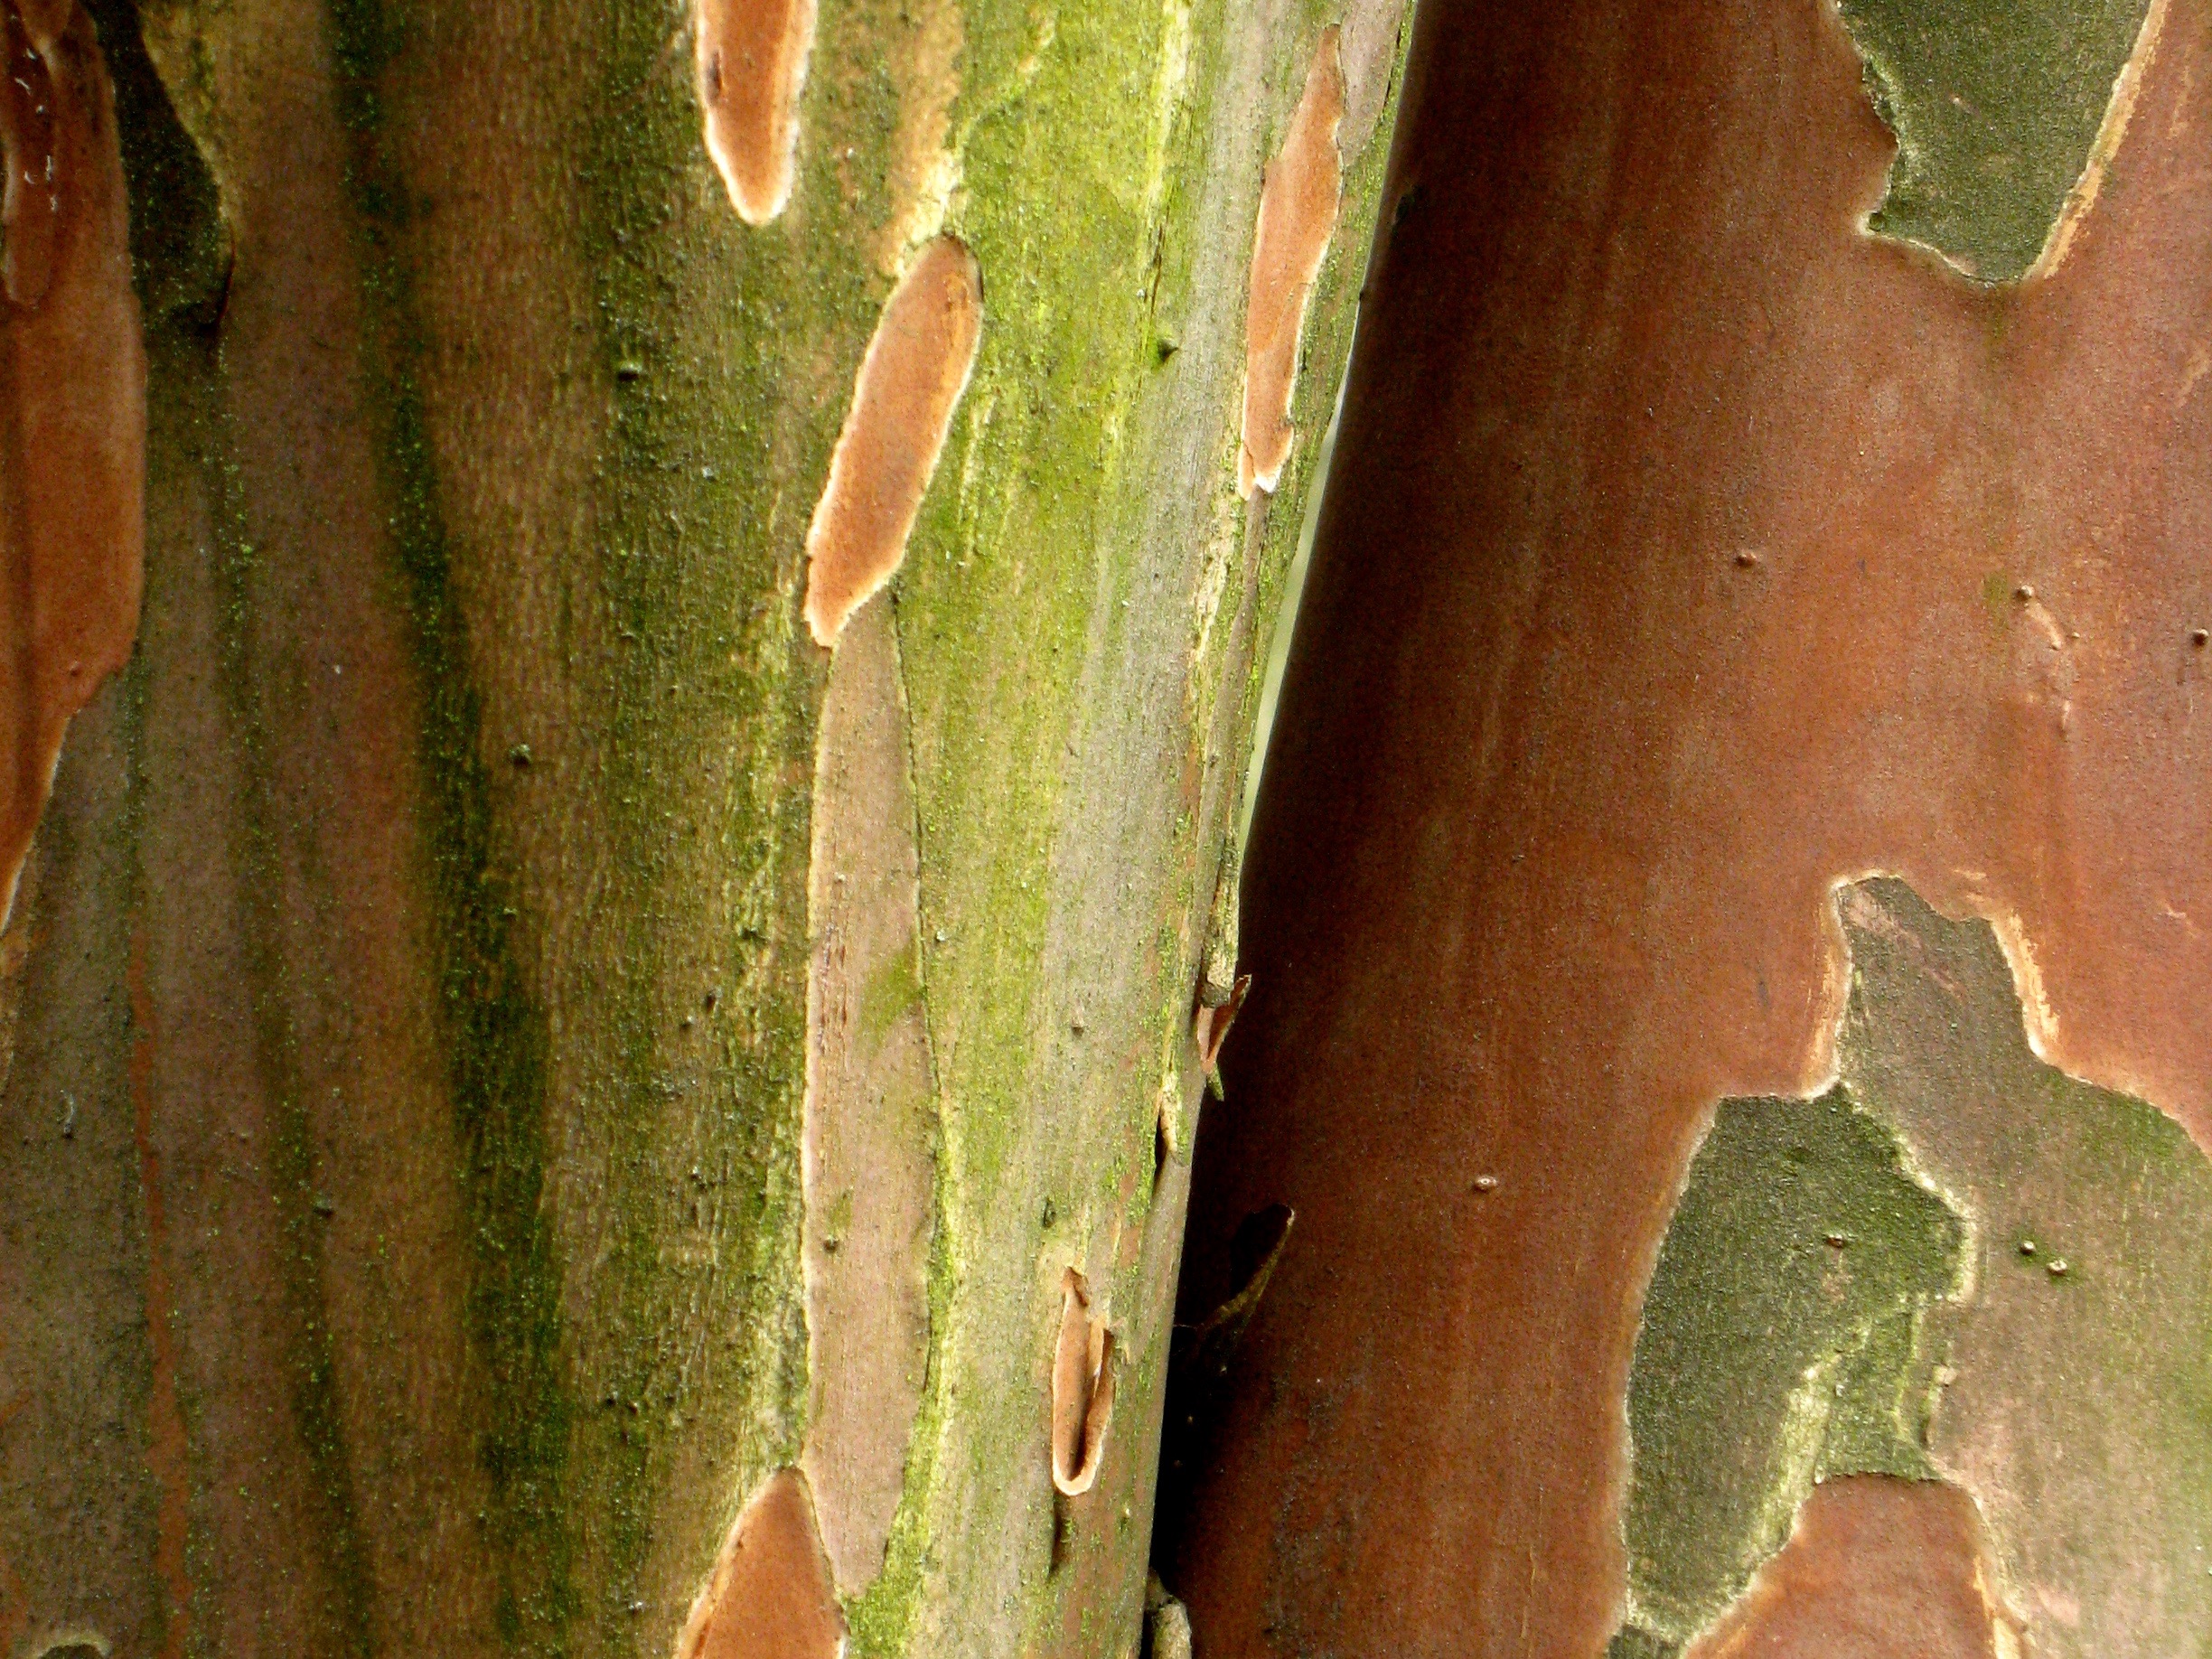
#2: Green wood offers greater mechanical and artistic flexibility. Like people, trees are all different.  They have different life experiences. Trees express their experiences in their physical structure. For example, a constantly wind blown tree will have asymmetric growth rings. a wet spring will yield broader growth rings, a scar may turn into a knot or a burl. Working with green wood offers the opportunity to “read” the underlying  structure and use it as a design feature for either it mechanical or aesthetic properties.

Features like knots, burls, bark, grain, and spalting (undesirable for mass produced lumber) can be quite beautiful if integrated into the design of a workpiece. To a woodworker, the opportunity is to “read” the tree’s story and cast a “defect” (or anomaly) in a way that makes the tree’s life experience into something special — think Cindy Crawford’s mole. In a finished product, the defects and anomalies can be polished vignettes of the trees experience the make a work piece special.  Yes, it’s geeky, but kinda cool at the same time.

#3: Green wood costs less than seasoned wood. Think of wood like wine. There is an optimal age at which the wood should be used. Fresh pressed wine like fresh cut wood is relatively inexpensive. Most people nominally season it and use it as fire wood. Let it age and season, and … well … the price can go up significantly.

We’ve started using green wood, mostly for turning things like bowls. The benefit to doing this is we are able to find wood at a good price (or sometimes free), and learn from it. We get to learn how to highlight the little things that made the part of the tree we have unique. It also allows us to manage the seasoning process to benefit the final work product.

All of the preceding is way more detail that we thought we would ingest. It does, however, offer a connection to something real, tangible, and a world that most people never get to experience. We hope you’ve enjoyed this little peek into what we are doing. Stay tuned for more on what we are making, and how we do that.


The Magic in Spalted Wood

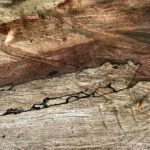
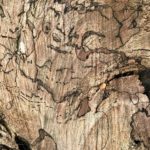
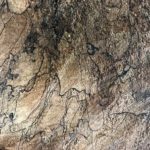
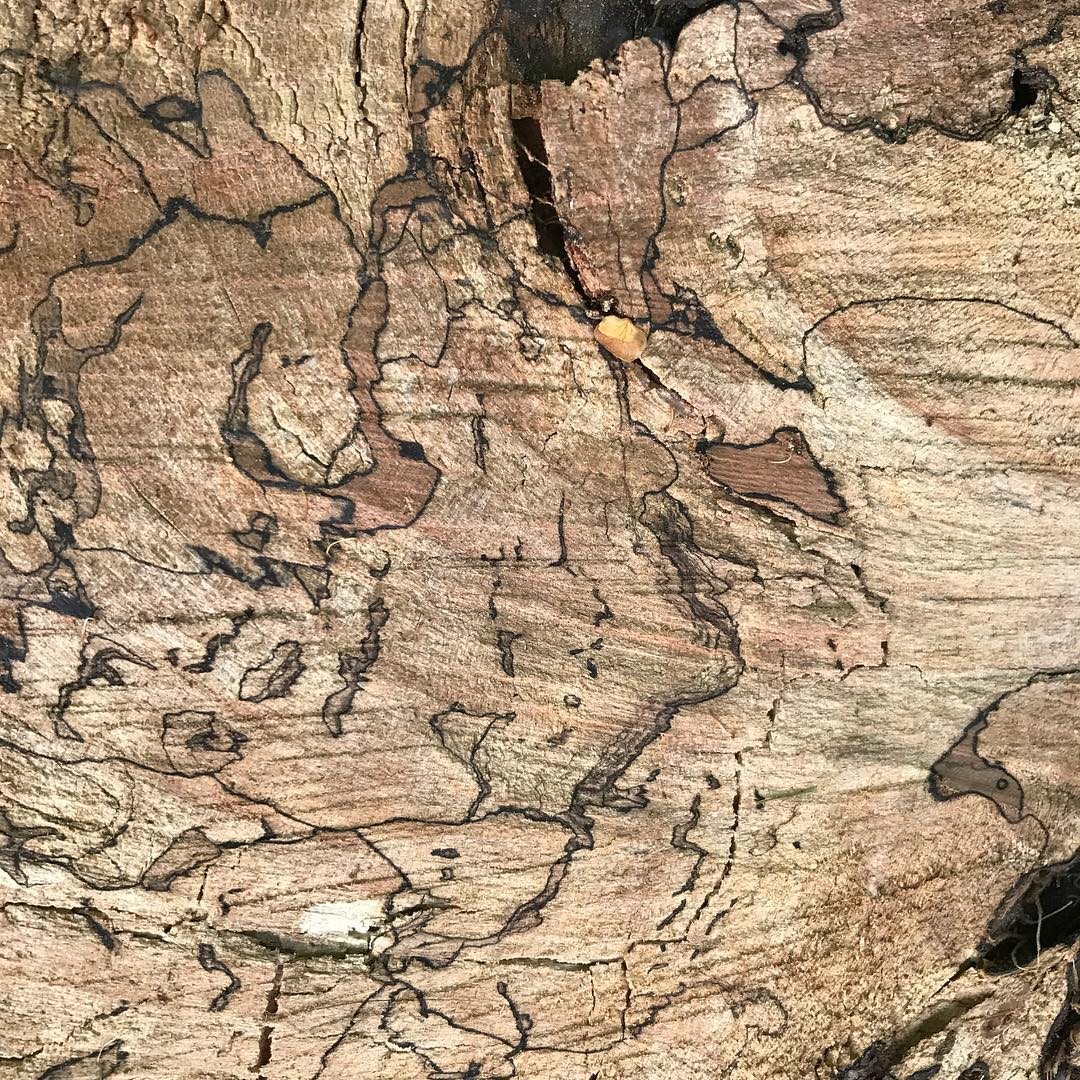
A while ago, we encountered a piece of spalted maple. It was beautiful. It had a bunch of squiggly black lines, some of which enclosed blocks of color. It was really pretty. Never having really encountered it before we were in awe. A new kind of wood? Was spalted maple like birds eye maple, or quilted maple, fiddle back maple — what was it?!? We had to find out more.

Where quilting, birds eye, and fiddle back, are attributes of wood grain and how the tree grew, spalting (spoiling), is actually wood rot. It’s a fungal infection, the early stages of decay. It’s what comes before you have a brittle or pulpy useless mush. It’s what happens when fungi start to break down a once majestic tree to re-integrate it into the earth. Whoa?!?

Spalting is a naturally occurring process. It starts on freshly felled trees that are infected by fungal spores in our environment. Interestingly, there are fungal spores all over the place. We breathe them all the time. Leave a freshly cut piece of wet wood in a damp location, and it will start to spelt (i.e, rot). Pretty random, but that’s life — or rather death.

Enter the world of “Applied Mycology.” As it turns out, the squiggly black (or deeply colored) lines are the result of fungal colonies interacting with each other. They are barriers that colonies erect to forestall the incursion of other colonies into their territory. The colors on the other hand are specific to different species of fungi. There are red, blue, green, yellow, and brown colorants that different species produce that bind with the wood.

So, what does all this mean? The pretty spalting patterns in wood are a graphic depiction of epic battles for resources between fungal colonies; each competing with the next trying to to consume the sugars and cellulose in a piece of wood. Therefore, one can specifically inoculate wood with fungal species to achieve certain effects — within reason. Put a couple of colonies of fungi of comparable aggression beside each other, and they’ll make patterns. Pretty cool.

What this also means is that any (palatable) wood given the right environmental conditions can be spalted — even kiln dried milled lumber.

We didn’t arrive at the preceding insights through our own brilliance.  A couple of weeks ago, we spent the better part of a day with Dr. Sara Robinson, Assistant Professor of Anatomy of Renewable Materials at OSU’s Department of  Wood Science & Engineering. Sara (aka Seri), works at the intersection of Art and Science figuring out how to make wood prettier, cooler, and more functional.

So right now, we have our own little spalting experiments and fungal cultures going thanks to Seri’s guidance — but more on that later.