Making a Batch of Beech End Grain Cutting Boards — 2

Okay. So we had our beech end grain cutting boards glued up, sanded, and ready to be finished. And then we needed to tidy up a bit before making the final push to listing product on our Etsy Store and (hopefully) shipping them. And then, … we ran into some long grain cutting boards we had made a while ago. Sigh! Our entire process got sidetracked while we refactored and upgraded the long grain cutting boards to be serving platters.

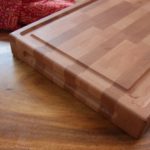
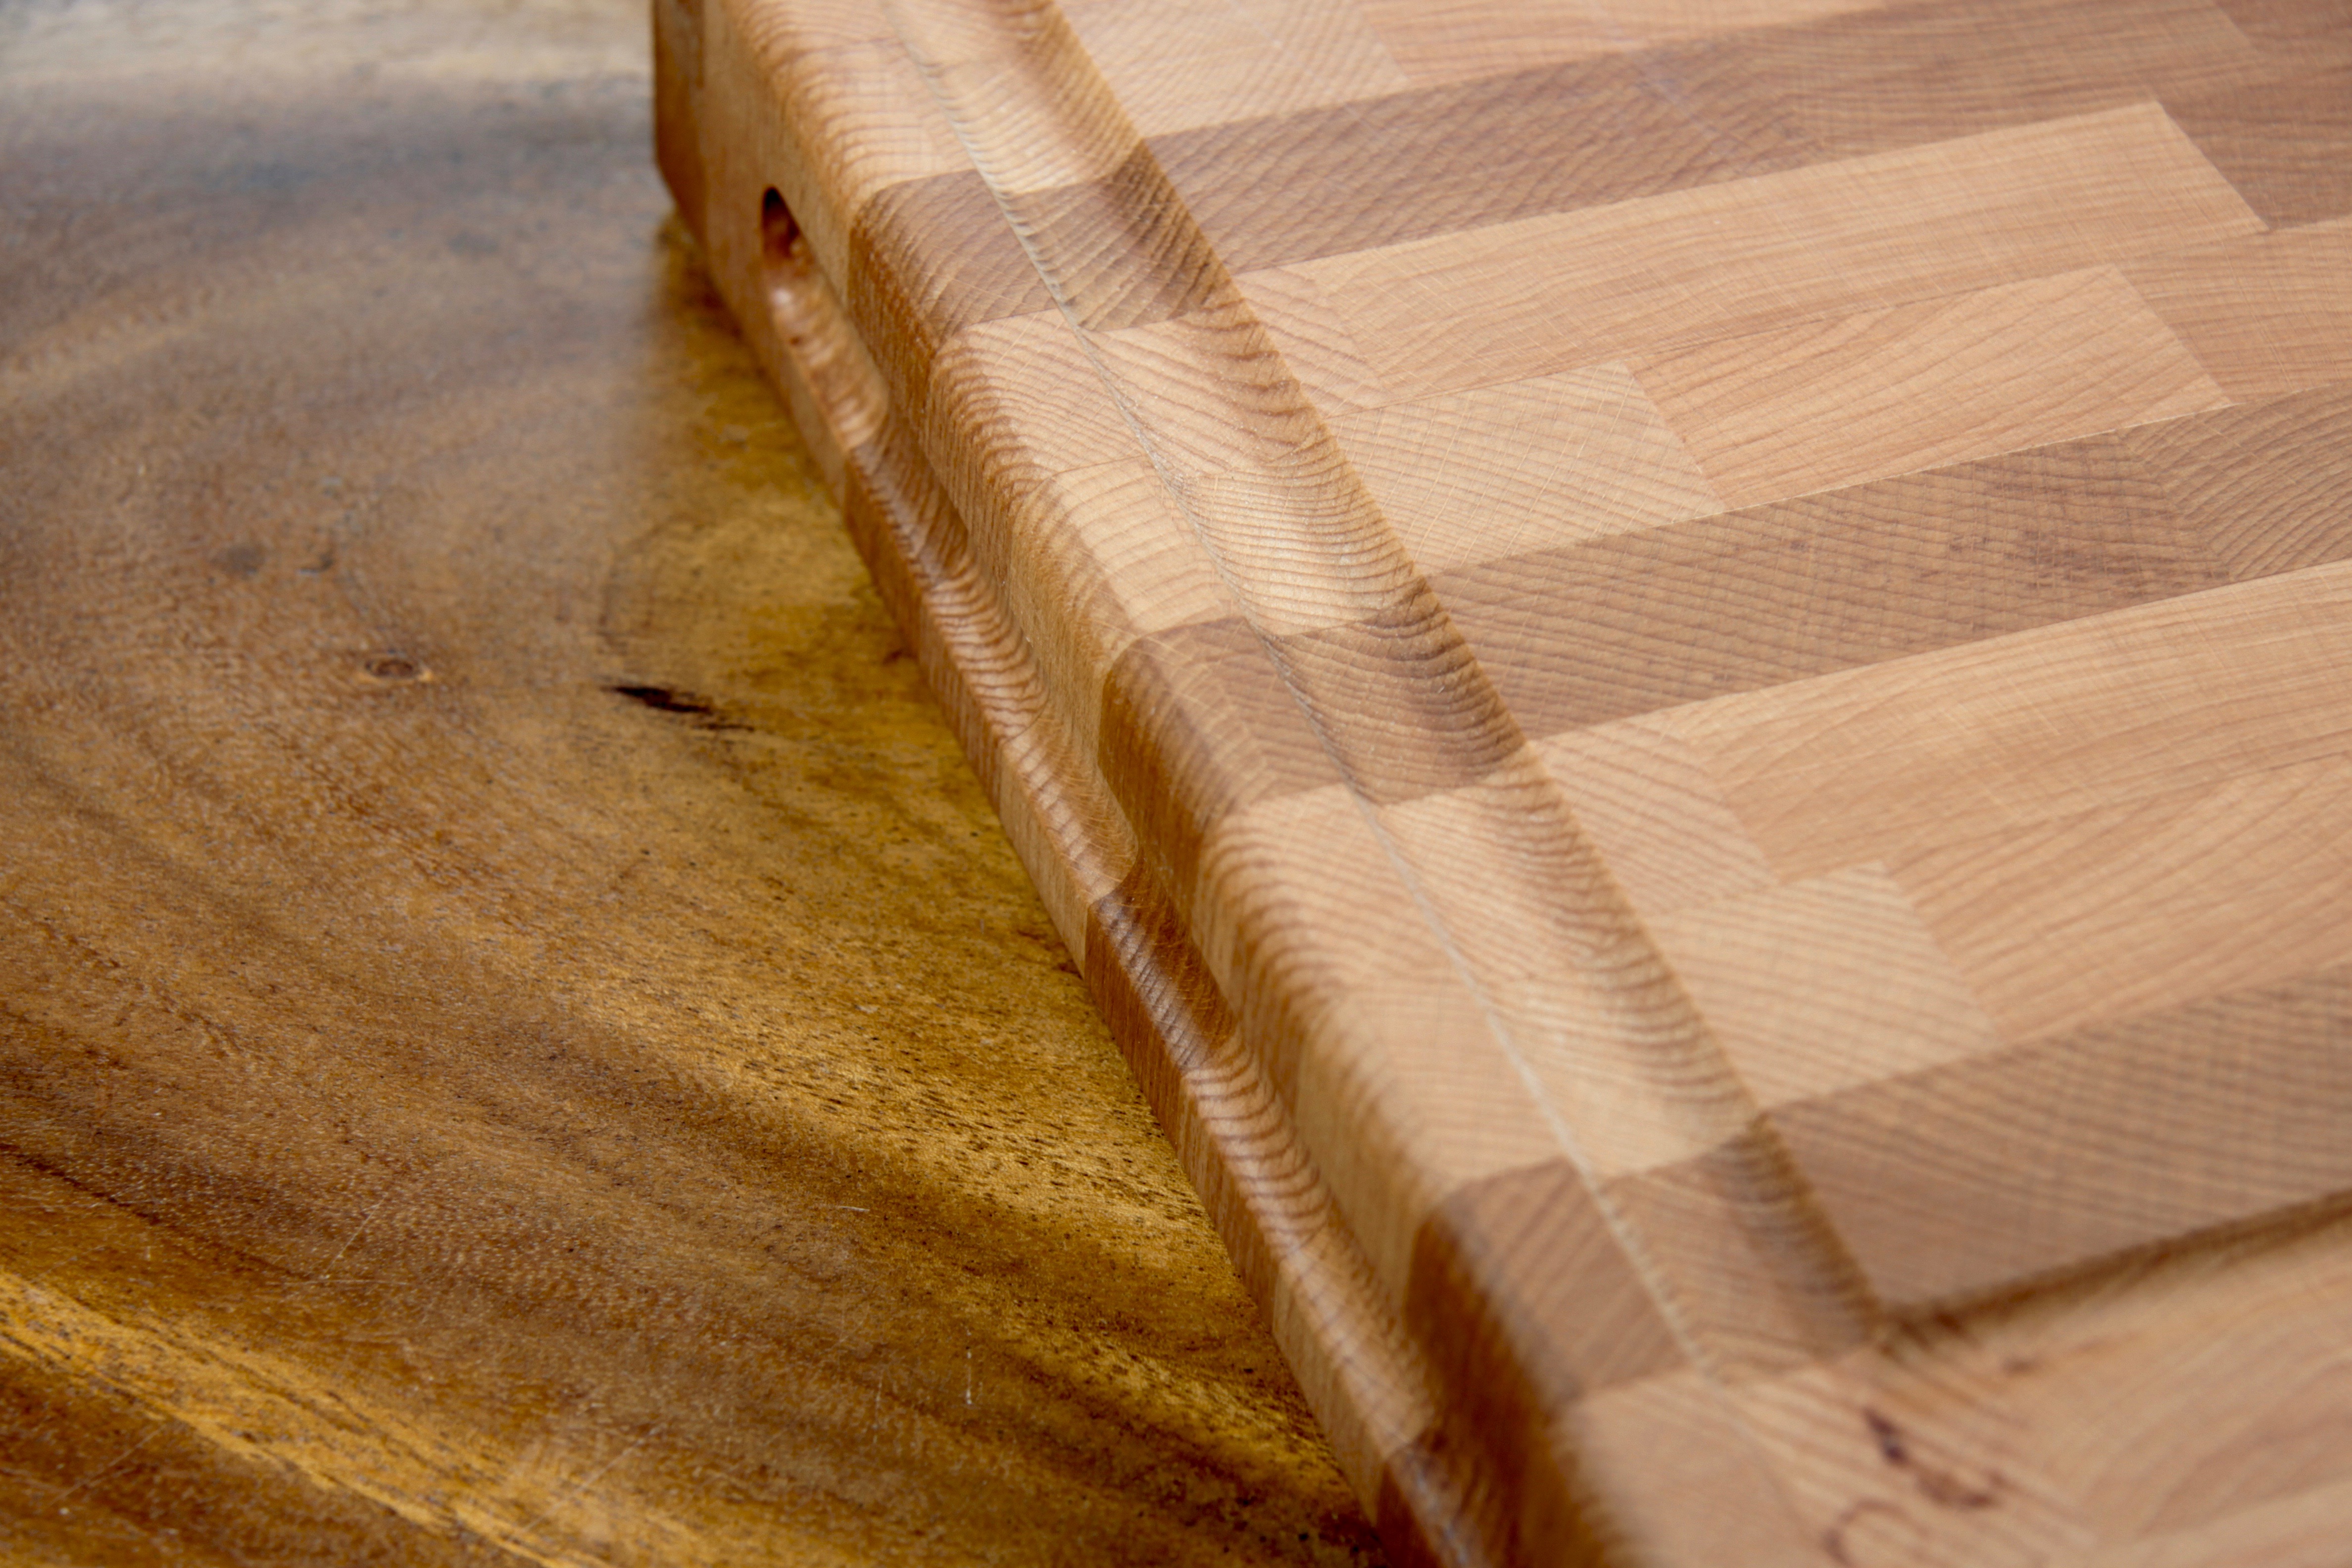
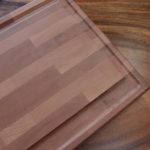
We decided to add a juice groove to one side of the beech boards so that if they are used for carving a turkey or a roast during the holiday season all the juice doesn’t run off and mess up the counters. We also added a finger groove to make them easier to pick up. While all this may seem trivial, a large part of the challenge is making tasks precisely replicable. This means the first time, always takes longer as there is a lot of “figuring out” that needs to happen.

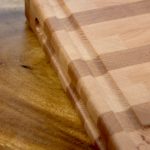
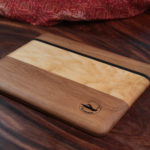
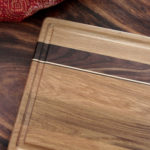
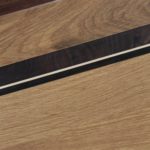
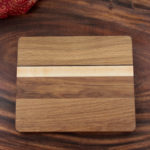
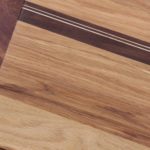
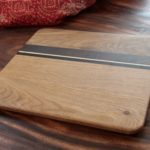
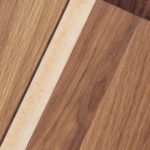
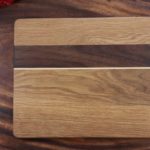
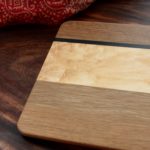
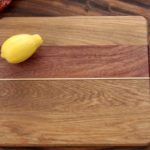
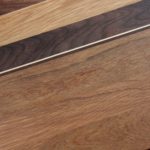
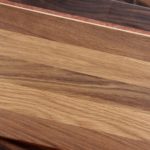
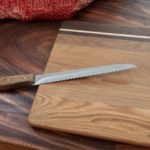
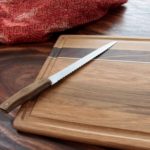
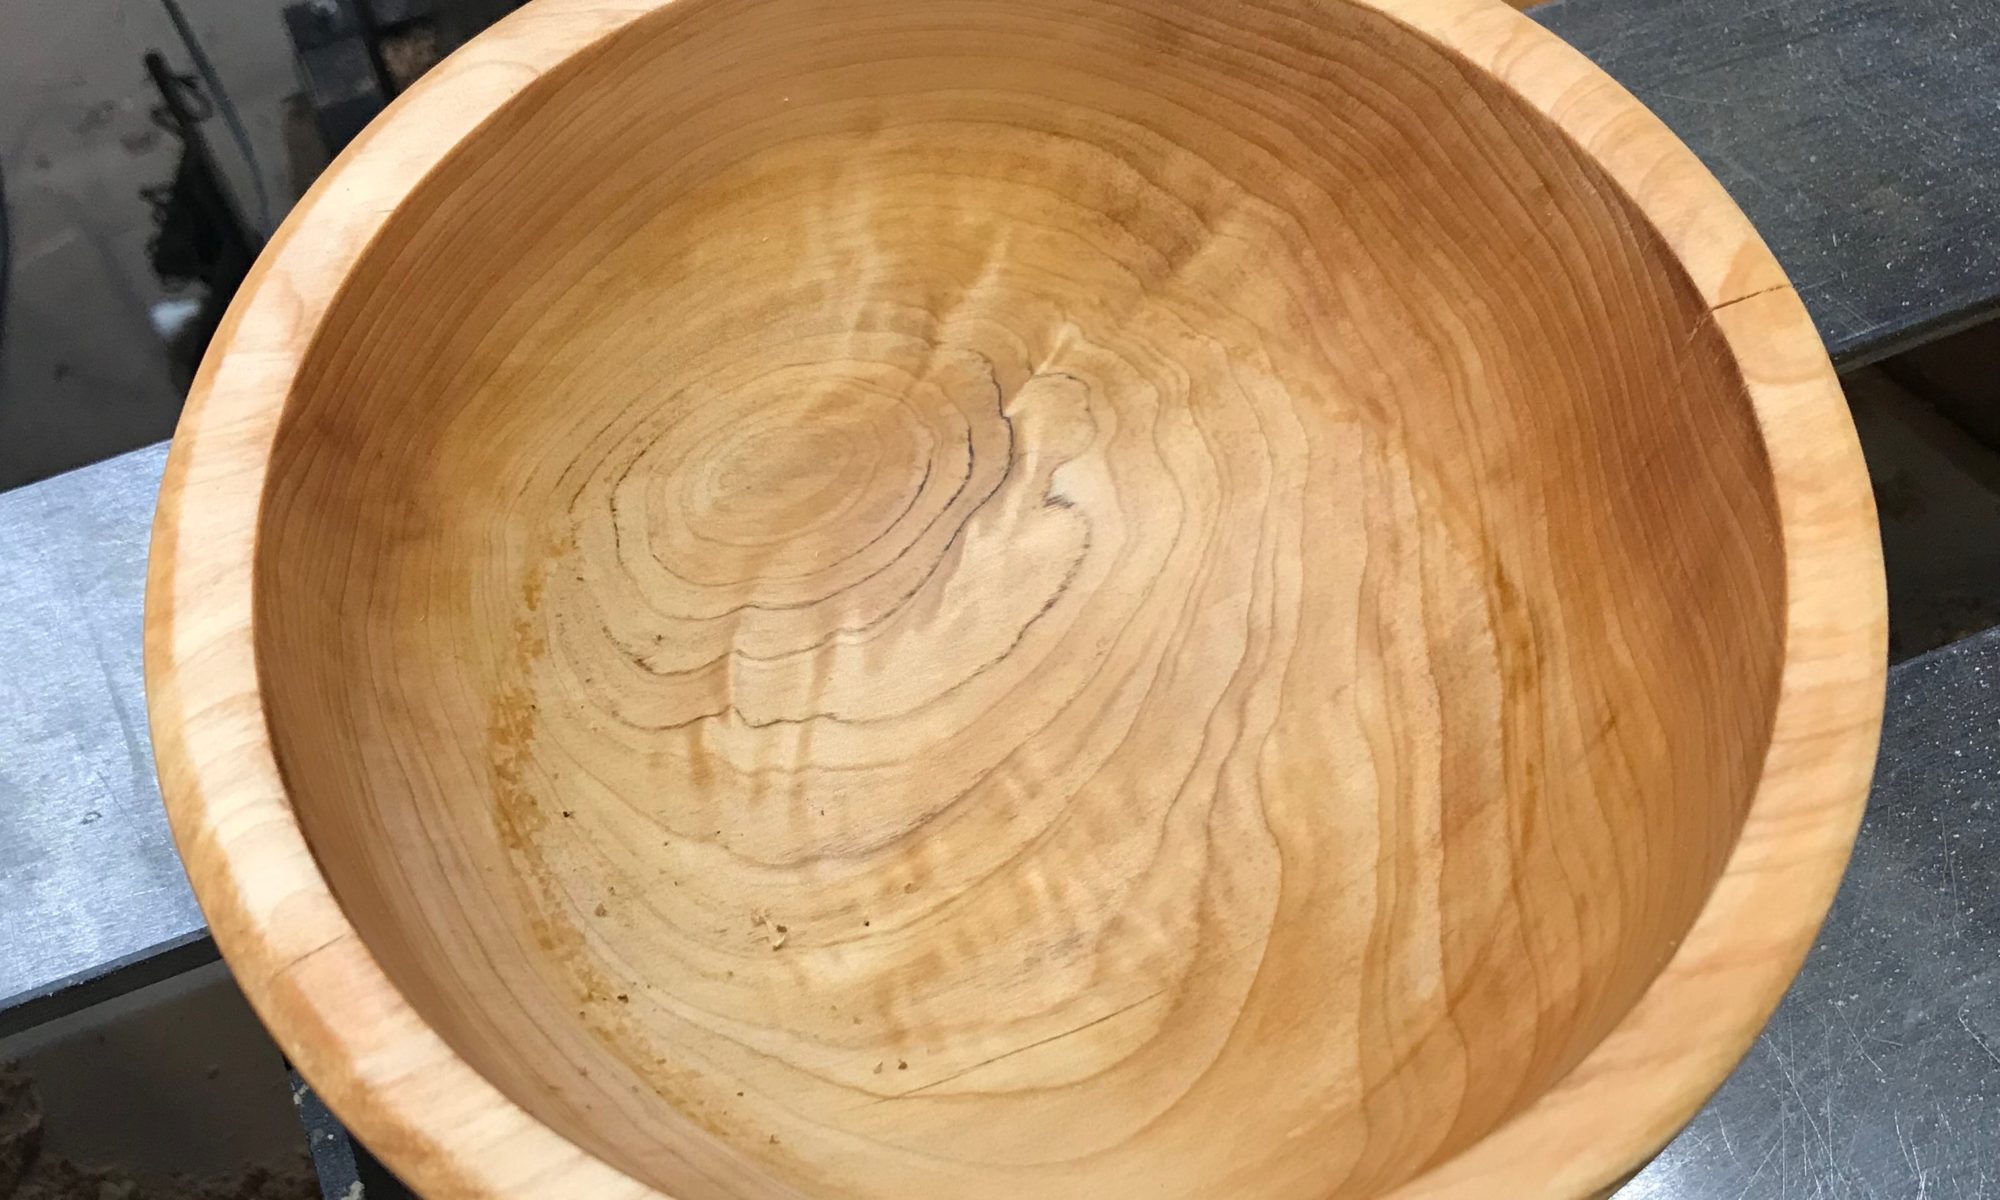
Following are pictures of some of the finished end grain boards as well as some of the other boards we made.
Update: having got everything “done” we showed off our fine handiwork to a friend who’s one experienced woodworker. His first question was “what glue did you use?” The recommendation we’d received from several sources was to use a product called Tirebond II, a water resistant glue — which we did. Our friend’s recommendation was that we use Titebond III, a waterproof glue. Since this particular individual is a very experienced woodworker with a national reputation, we decided to follow his advice. We will not be offering up our current batch of end grain cutting boards for sale.
Our Etsy Store is Finally Stocked

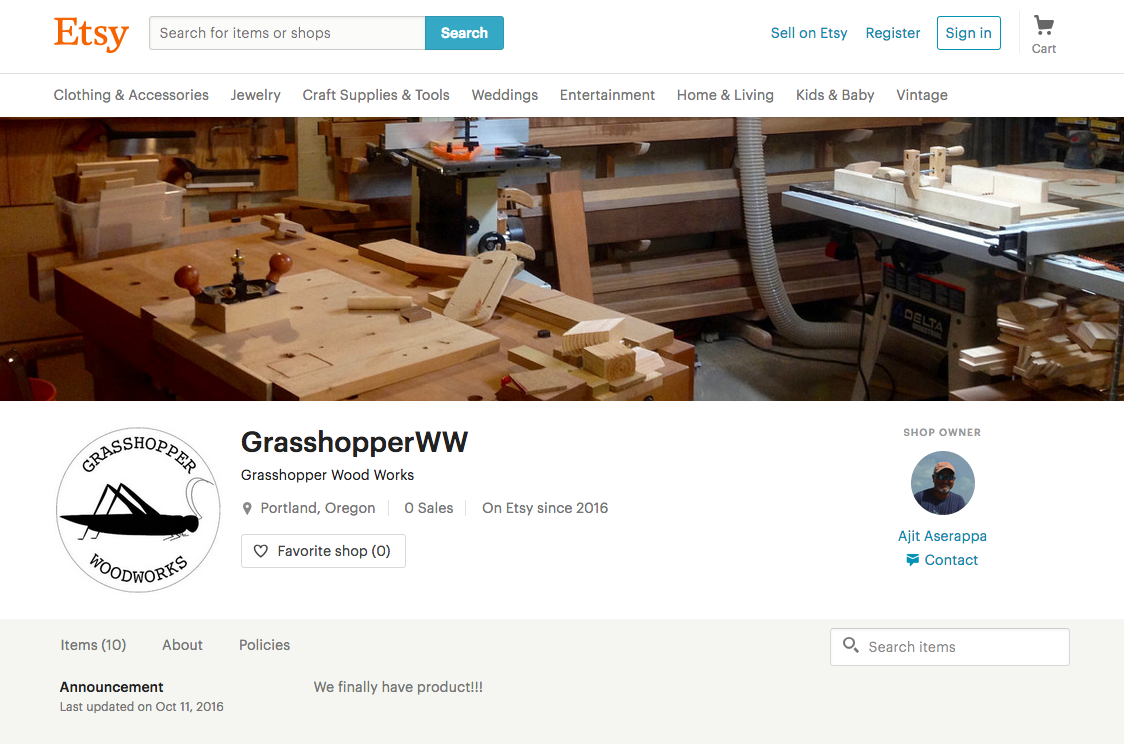
For those of you who’ve been following our woodworking venture, we have (finally!!!) listed our first products on Etsy!!! We’ve had the store set up but hadn’t stocked it with product.

etsy-store-front

Getting stocked was more challenging than we had anticipated. It’s not so much getting stocked since we had inventory, but it’s all of the other details :  presentation, photography, pricing, packaging, policies, …. the list goes on. It’s not that any one thing is difficult, it’s that the details make a difference. Yeah, we could ship stuff in a paper bag with a bunch of stamps, but that seems déclassé. On the other hand, wrapping product in silk and having it delivered by carrier pigeon’s isn’t cost effective. Plus you have to train the pigeons. We nixed that idea.


And then, as it happens, in the middle of all this, life intervened. We had house guest, a multi-day class on how to finish wood from a nationally renowned … finisher, and some of our equipment needed to be repaired, and … it was a long slog to get to the finish. Except that it isn’t the end, it’s the beginning on a very long haul. We will be quite happy when we have some robotic assistants built. But experiencing the pain and pinch points of manufacturing a product and getting it to market is a prerequisite.

But yes, we have product — cutting boards specifically. We think they look quite nice and that people will enjoy using them. We’ve added little touches based on our experience — the shape of the bottom, for example that allow one’s finger to slip under the board to pick it up, or seasoning the boards in a trough of warmed mineral oil to facilitate absorption. There a number of other details that we hope people will recognize, but that requires actually shipping product.

Following are pictures of our first 10 cutting boards. Visit our store, like it, and follow the adventure!


Making a Batch of Beech End Grain Cutting Boards – 1

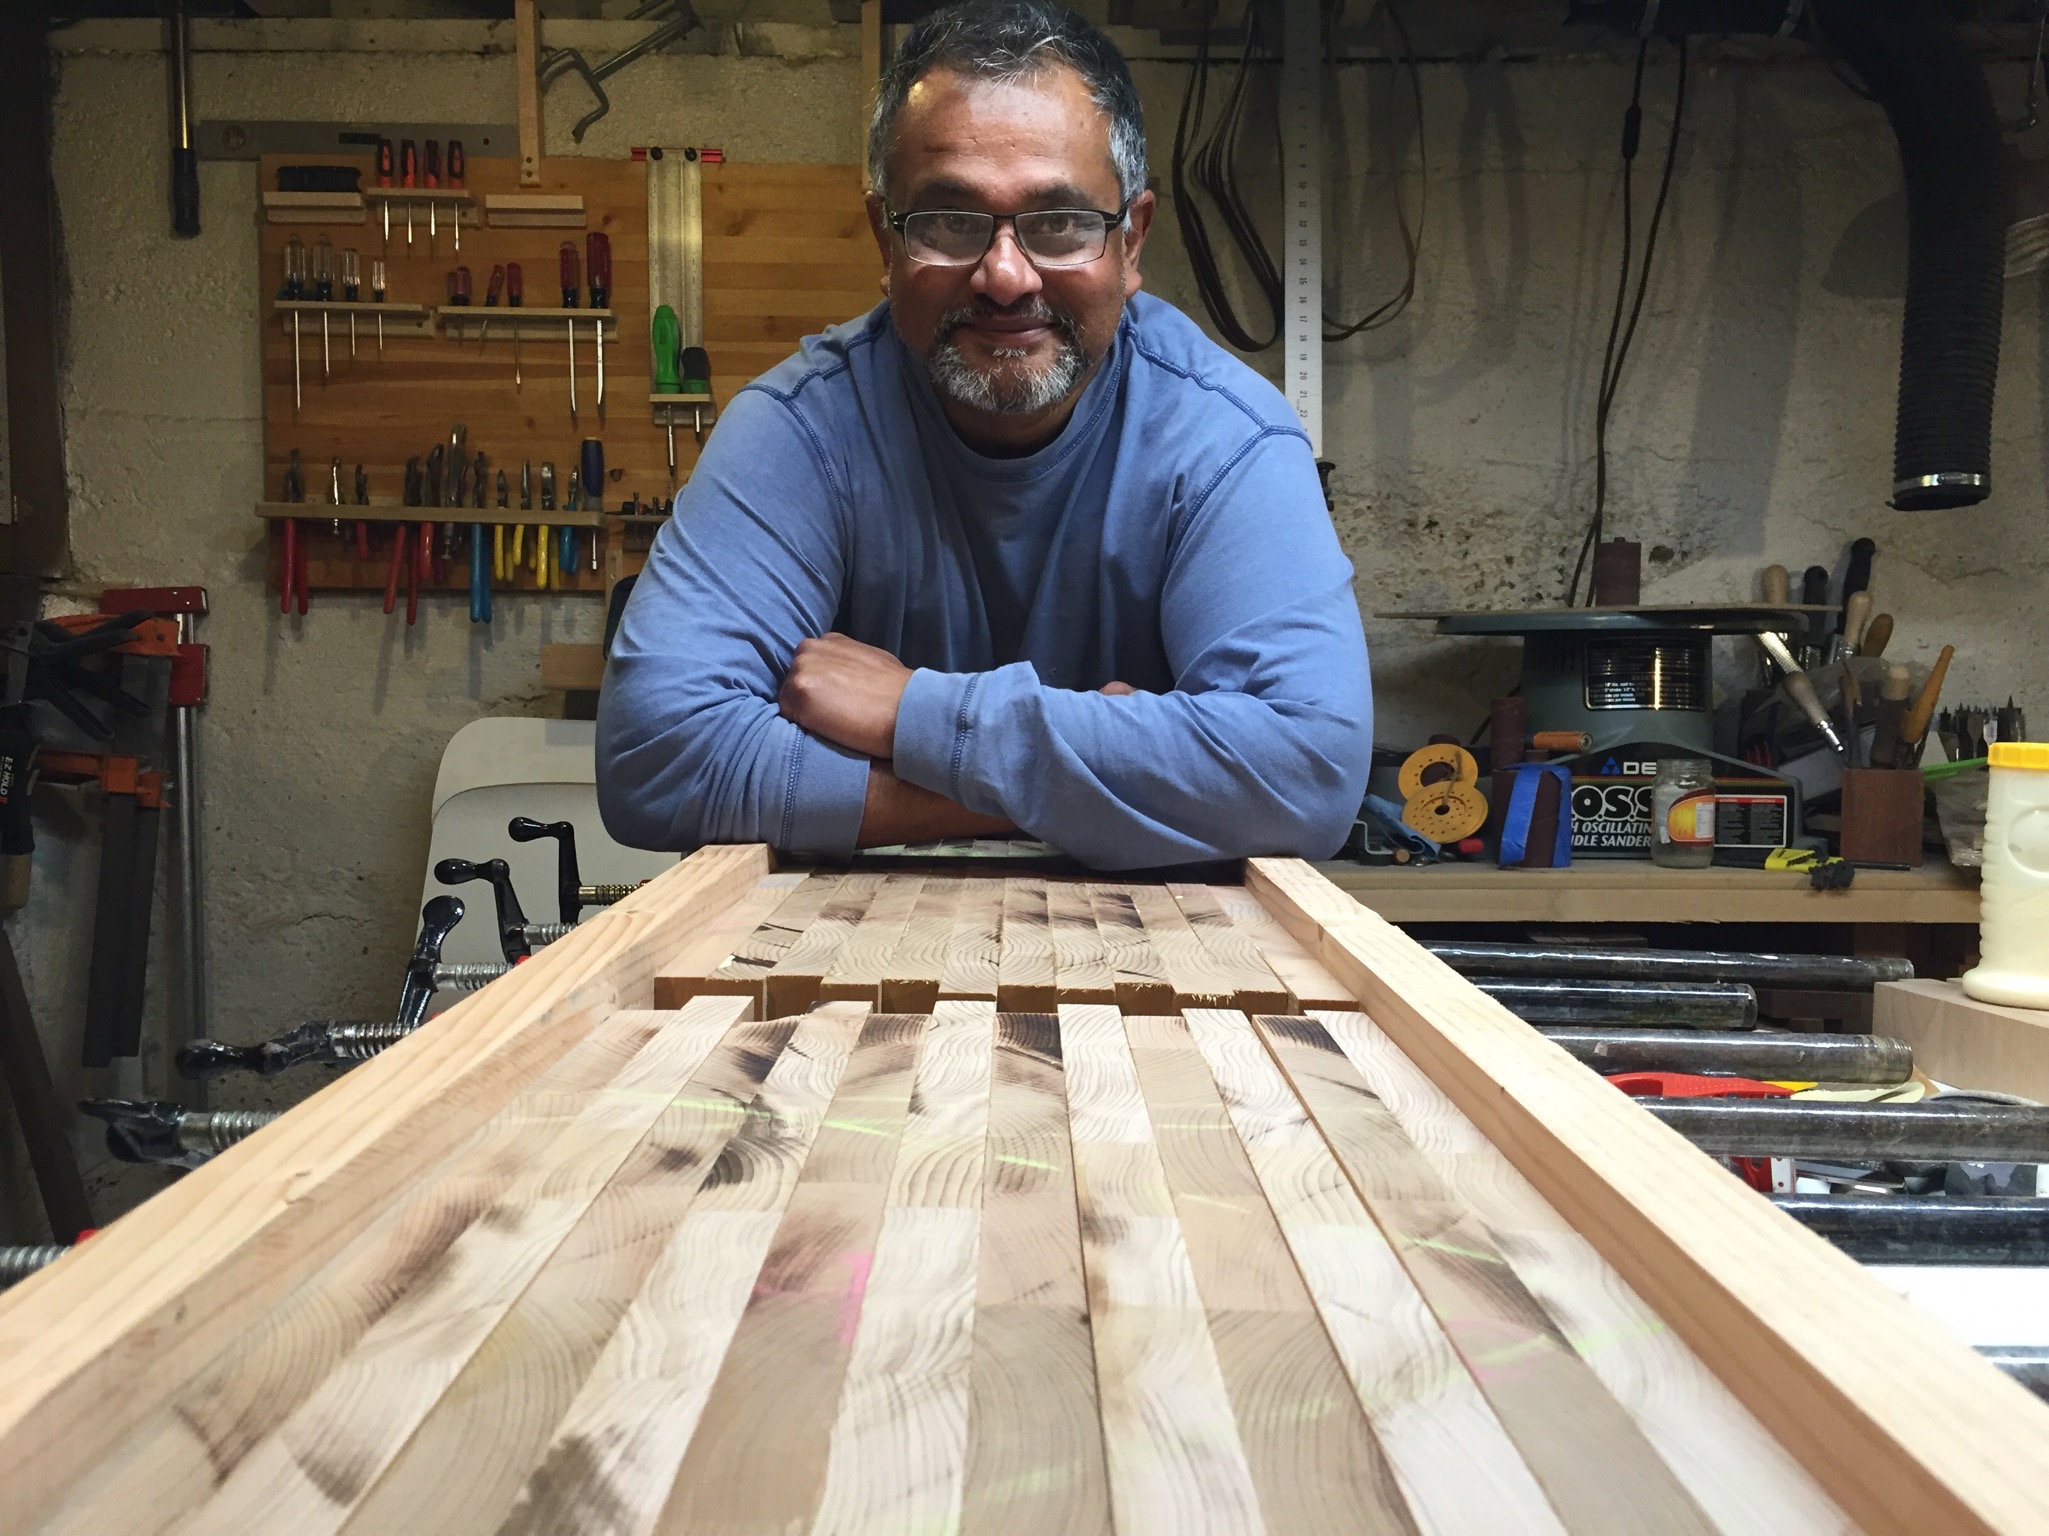
A few weeks ago, we bought enough wood to make about 25 18″ x 12 ” x 2″ end grain beech cutting boards. While that doesn’t seem like much, in raw forms that’s about 1.25 cu yards  of wood. We’ve got sick of tripping over the stuff it’s time to batch process them into cutting boards.

There are several steps to making end grain cutting boards:

  1. Joint plane and rip the component boards to the correct dimensions
  2. Glue  the prepped boards together into a panel
  3. Rip the panels into strips of an even width
  4. Glue the strips together into a new board with exposed end grain
  5.  Level the board — we use a drum sander for this
  6. Trim the board to size
  7. Sand and seal the board with a protective coating

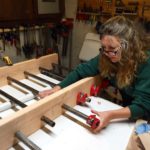
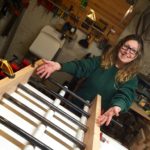
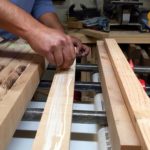
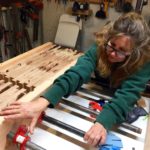
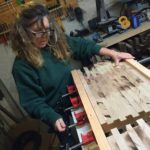
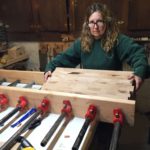
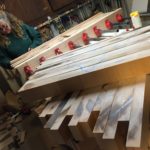
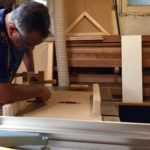
Thus far, we’d been individually gluing the prototype boards we’ve made. It was time time to build a clamping frame so that we can batch process the glue-ups a couple of boards at a time. The camping frame is pretty simple. It’s essentially a bunch of pipe clamps that are embedded in 2x6s. It’s a simple tool, but it helps keep the clamps aligned and offers a flat surface the evenly distributes calming pressure.
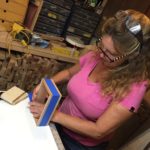
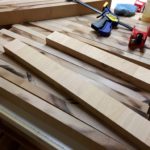
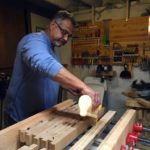
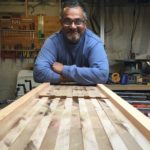
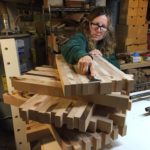
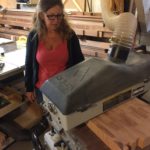
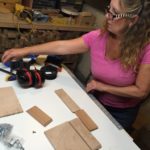
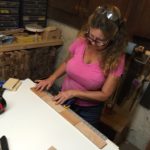
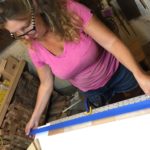
Here are some pictures of getting our first batch of 6 end grain cutting boards. We haven’t completed steps 6 and 7. We still need to sand the boards so they are smooth, and give them a protective coating of mineral oil. Actually, it’s a mineral oil soak. This will happen tomorrow and the day after. Stay tuned.

Building an Outfeed Table

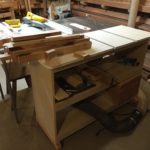
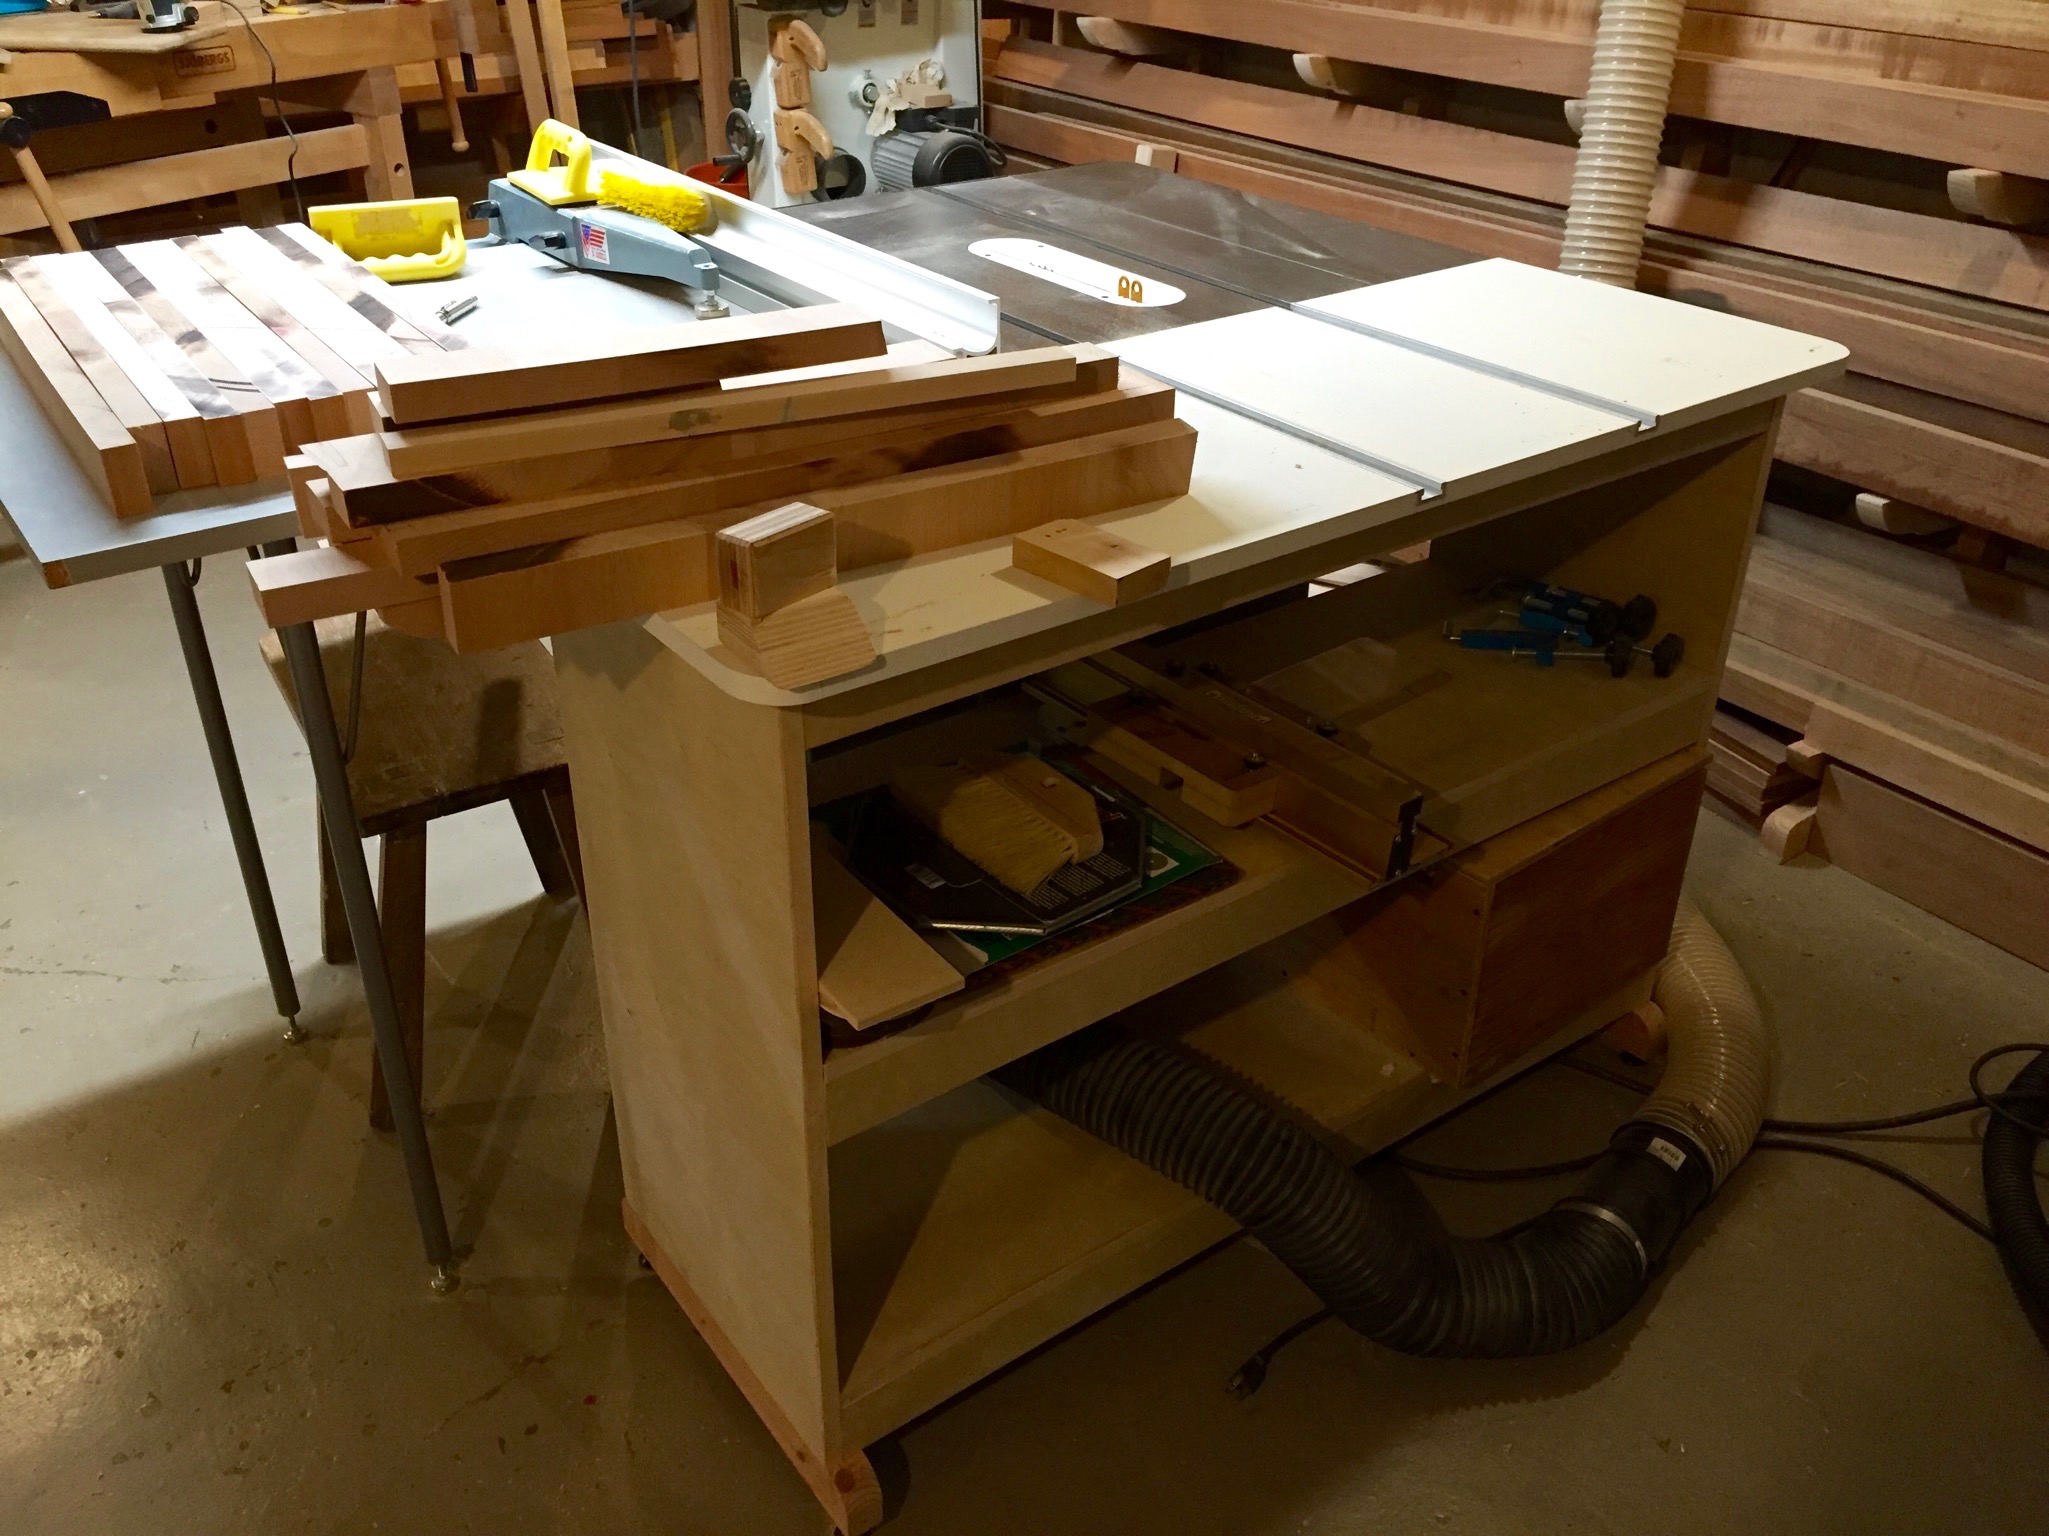
The past few days have been a little bit of fun and a lotta bit of drudgery. After our recent experiments with cutting wider panels for the end grain cutting boards we’ll be making, we decided that we needed to have an out feed table to support longer work pieces as they are pushed through the saw. Without this support, longer workplaces would tilt, possibly catching the blade and damaging the workpiece — or worse, one of us.

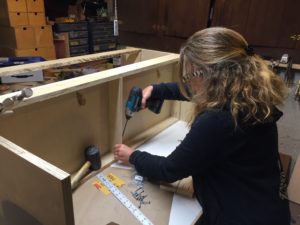
Lisa screwing the outfield table together.

Initially, we’d thought we would make a simple little table to support work pieces as they were pushed through the saw blade. Then we thought we’d upgrade to a face frame cabinet like you’d find in most kitchens. What we ended up with, however, was a set of stacked, modified  torsion boxes.

Torsion boxes are essential a box frame with a series of cross beams sandwiched between two layers of a relatively thin skin. The purpose of the design is provide a rigid light weight plane that resists twisting and racking. For our purposes, this design is more rigid and resilient that face frame cabinet construction. It is also easy to disassemble if we ever need to move it out of the basement.

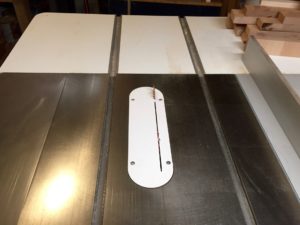
Perfectly aligned miter tracks in the outfield table.

One of the tricky bits of this build is that the grooves in the outfield table need to match up exactly with those on the saw. They also need to be exactly aligned along all three axes, and be at the same depth as well. If the grooves or the slots are misaligned in any way, the table ceases to be useful as it doesn’t allow larger sleds that we use for cross cutting to run freely. Suffice to say, we are quite proud of ourselves for getting all of this right and for being able to rely on the set up of our saw to help us.

We are very happy with the final product. It even has handy storage so we don’t keep tripping over things. We hope you enjoy being brought into some of the details of getting our shop production ready.

A Mitered Corner Box

Most people don’t think much about boxes.We think about shapes and sizes based on what we plan to store in them. That’s about it. But, if you look around most of what we see are based on cube-ish shapes. Houses. Cabinets. Storage boxes. Cars. The list goes on.

Yesterday, we took a brief detour from shop related stuff we were doing to build a couple of boxes. They were mostly for fun, but we were also testing out how we were going to prepare them for finishing. Many  items we will be producing in the future revolve around box shapes, so building a box  is a fundamental woodworking skill.

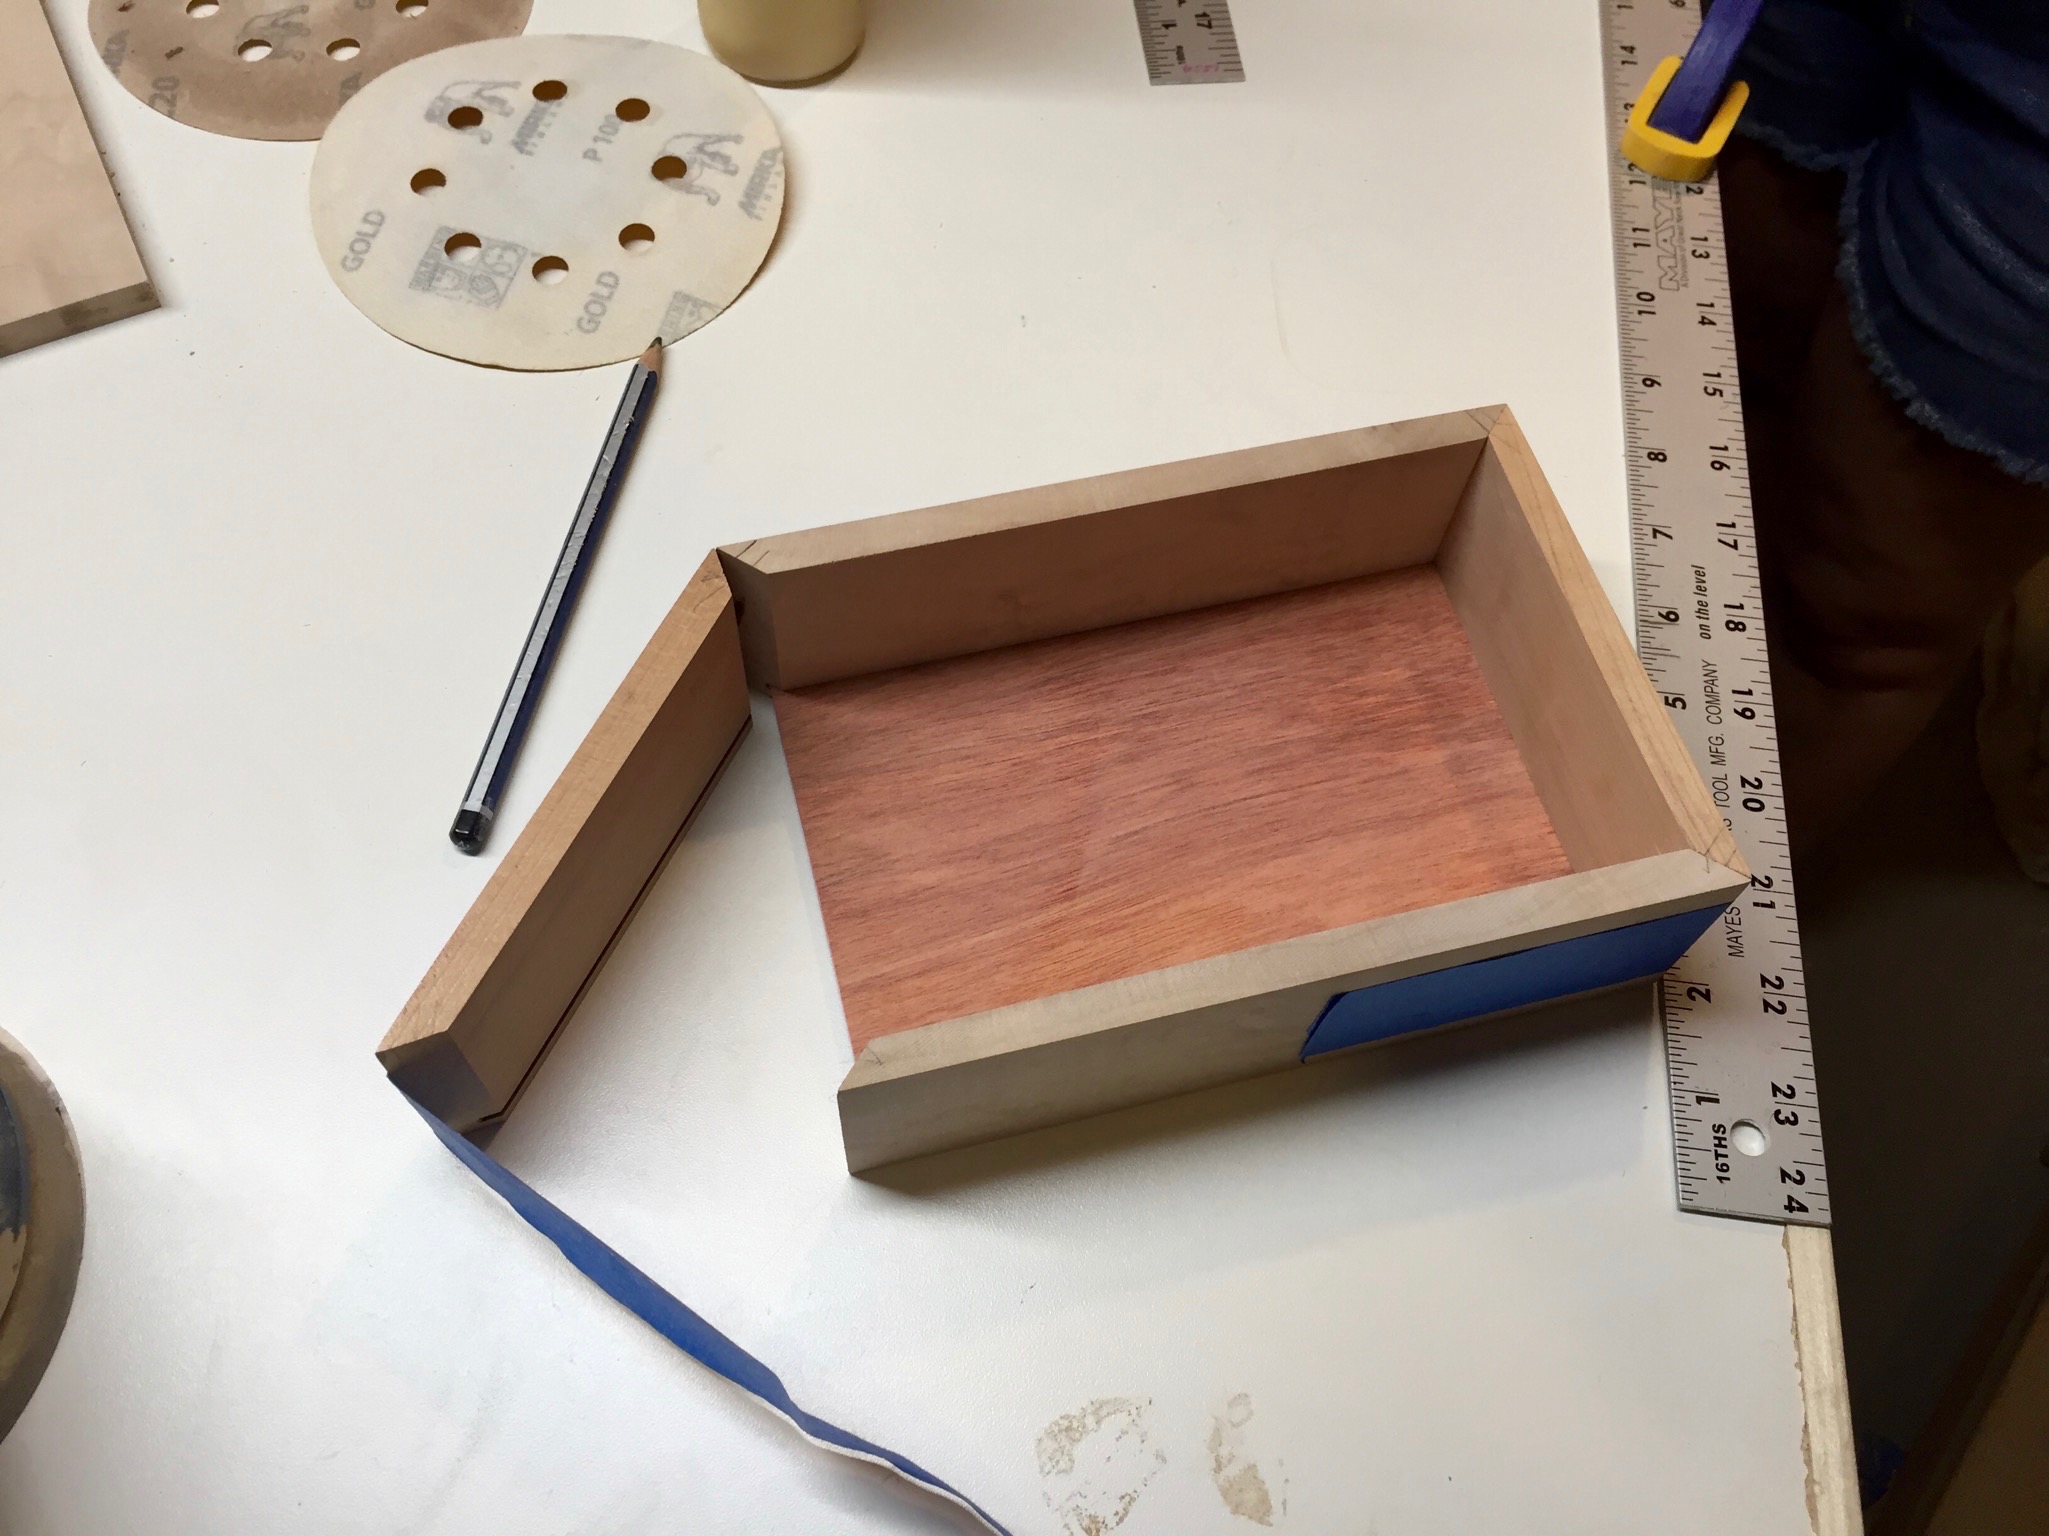
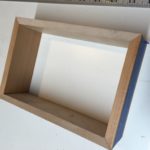
The boxes we chose to make were simple mitered corner boxes. This is one of the more basic designs. Four sides are cut at 45 degrees so they meet up at perfect right angles to each other. A part of the challenge is to make sure that the wood is of even thickness and dead flat. The other challenge is to ensure that the cuts are exactly 45 degrees. If any of the preceding are off, the box has unsightly gaps.

The miter joints that make up the box we made aren’t the strongest. On the plus side, they don’t show any end grain. On the minus side, if one isn’t careful about priming the joint with glue seize the end grain can suck up all the glue, weakening the joint and causing it to fail or swelling the wood, thereby throwing off the geometry of the box. This was a test for us in many respects.

Since we were making a couple of these boxes, we figured we’d take a couple of pictures to show you what the process looks like.