
Okay. So we had our beech end grain cutting boards glued up, sanded, and ready to be finished. And then we needed to tidy up a bit before making the final push to listing product on our Etsy Store and (hopefully) shipping them. And then, … we ran into some long grain cutting boards we had made a while ago. Sigh! Our entire process got sidetracked while we refactored and upgraded the long grain cutting boards to be serving platters.
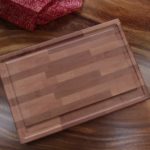
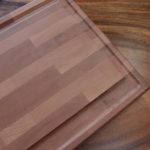
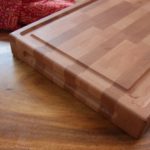
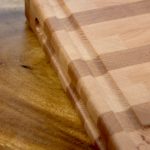
We decided to add a juice groove to one side of the beech boards so that if they are used for carving a turkey or a roast during the holiday season all the juice doesn’t run off and mess up the counters. We also added a finger groove to make them easier to pick up. While all this may seem trivial, a large part of the challenge is making tasks precisely replicable. This means the first time, always takes longer as there is a lot of “figuring out” that needs to happen.
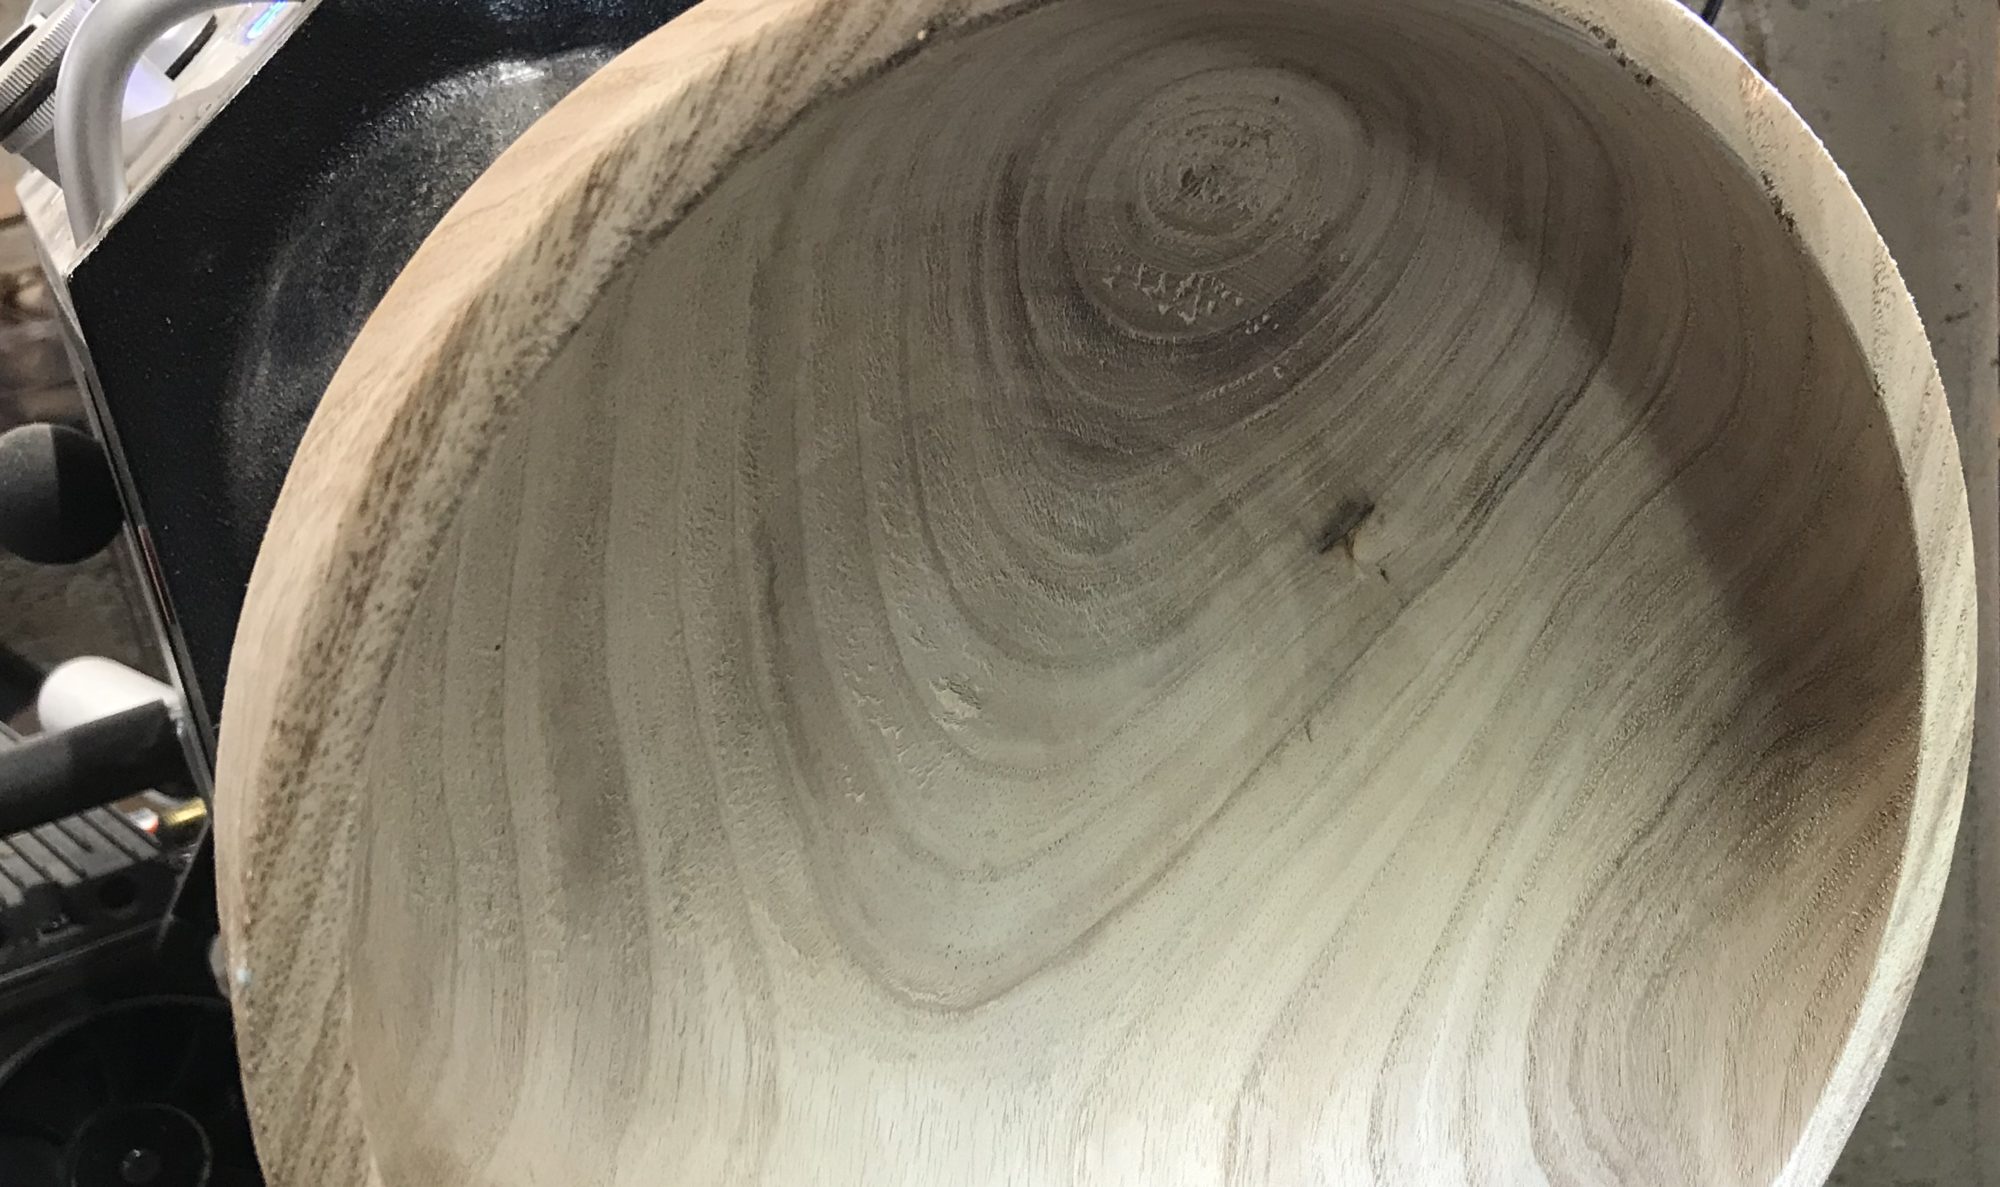
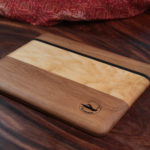
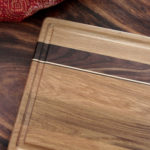
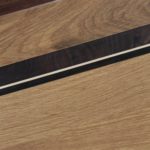
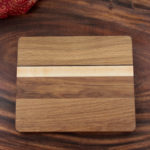
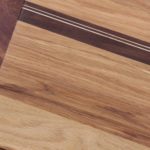
Following are pictures of some of the finished end grain boards as well as some of the other boards we made.
Update: having got everything “done” we showed off our fine handiwork to a friend who’s one experienced woodworker. His first question was “what glue did you use?” The recommendation we’d received from several sources was to use a product called Tirebond II, a water resistant glue — which we did. Our friend’s recommendation was that we use Titebond III, a waterproof glue. Since this particular individual is a very experienced woodworker with a national reputation, we decided to follow his advice. We will not be offering up our current batch of end grain cutting boards for sale.